
I have always loved a good, chewy trail mix bar. This foolproof recipe for Fruit and Nut Bars will quickly become a family favorite! This recipe for Fruit and Nut Bars is simple, gluten free and only 3.75 grams of sugar, being sweetened by pure maple syrup. Fruit and Nut Bars are a great snack option for everyone!
Table of Contents
This post may contain affiliate links, please see our privacy policy for details.
As a busy mom, there is a constant struggle to find snacks the kids enjoy but that also contain healthy ingredients. This recipe checks all the boxes and is a crowd pleaser, even for mom and dad!
The fruit…
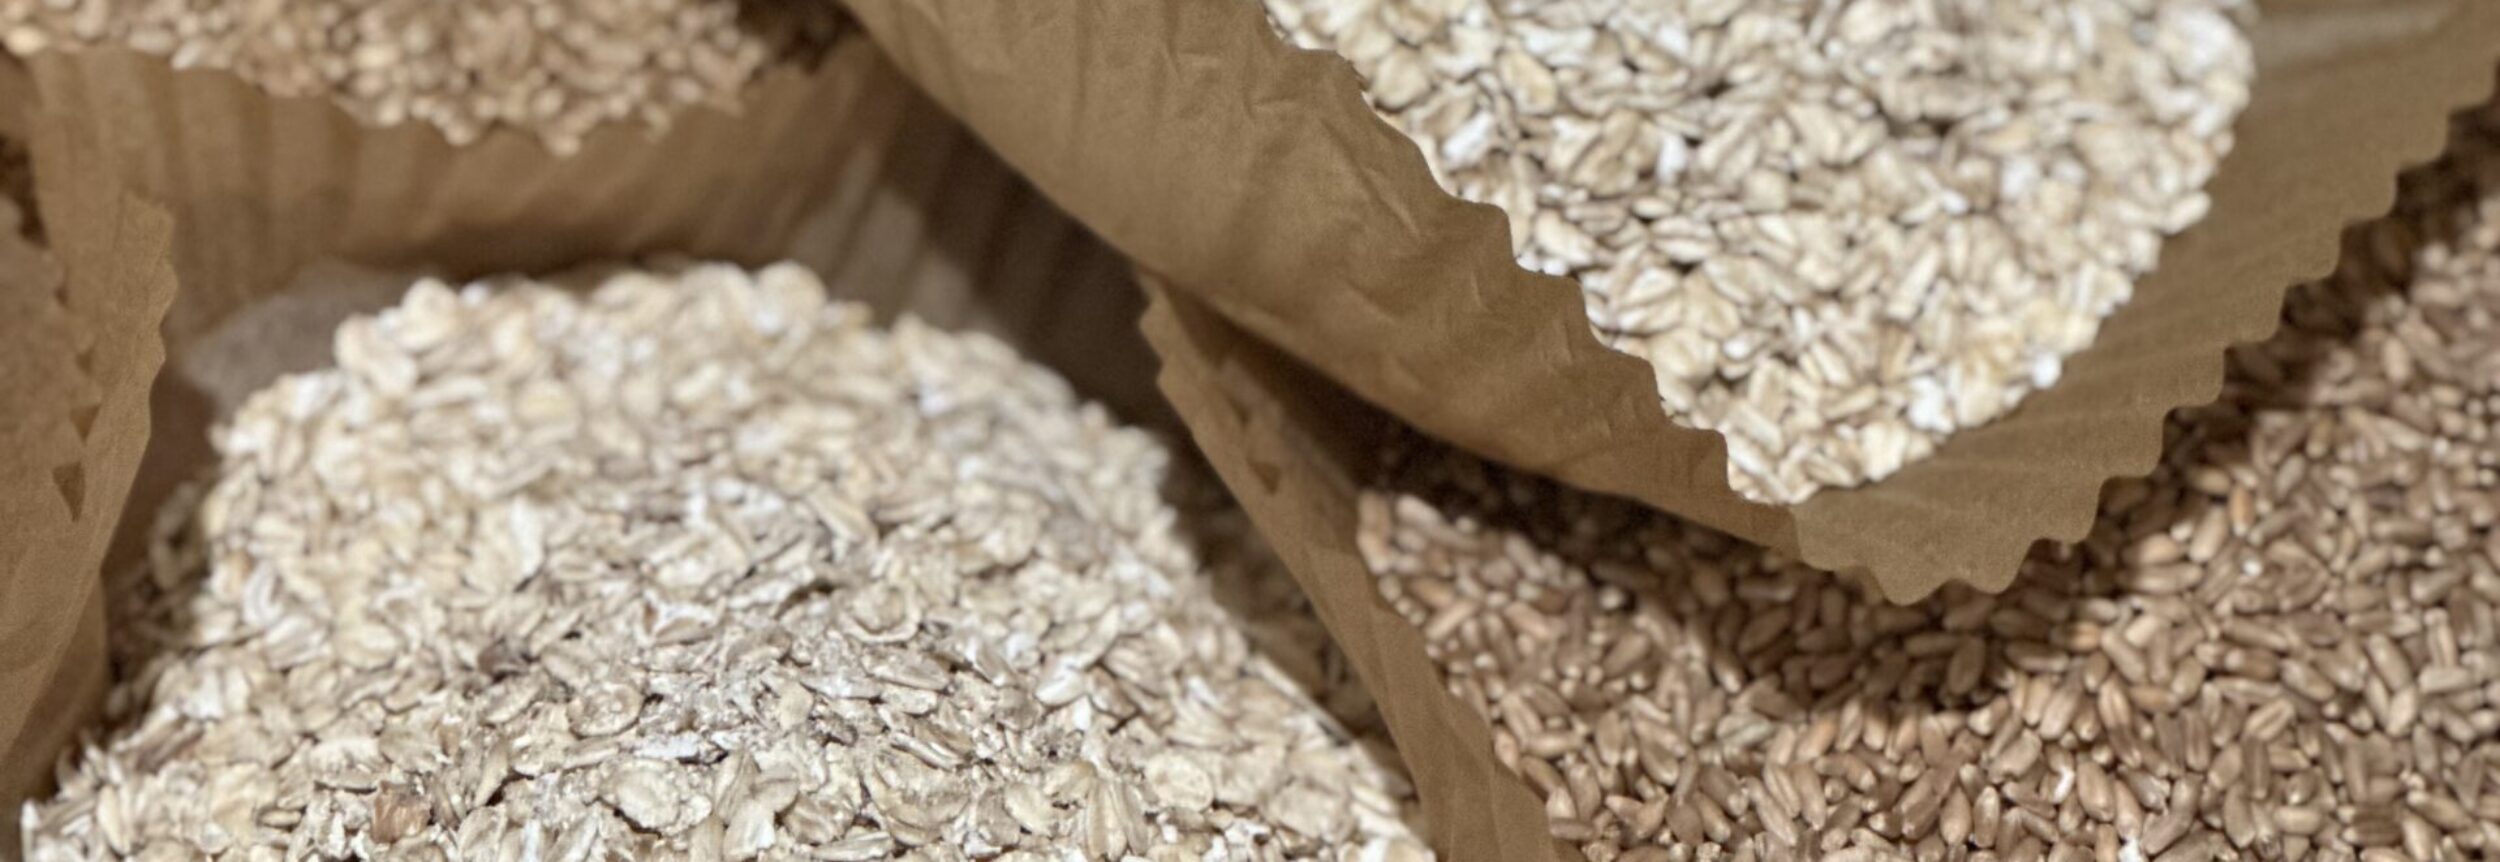
PIck your dried fruit!
Cranberries
Blueberries
Cherries
Pineapple
Raisins
They all work great! My go-to is dried cranberries, so that’s what I will use in this recipe, but try out others.
The nuts…
Pecans
Almonds
Cashews
Walnuts
Pistachios
Macadamias
Peanuts
Hazelnuts
I have tried this recipe with all one type of nut and up to 3. For this recipe I will use Pecans, almonds and cashews, but any raw, unsalted nut will work.
Seeds and more…
Chia
Pepitos
Sunflower
Flax
Coconut flakes
Let’s get started!
You really do not need much in the way of equipment for this recipe, but there are a few things that will make it easier.
Equipment
- 9″x13″ straight sided pan. I have a 1/4 sheet cake pan I like to use. You can also use a cookie sheet as long as it is at least 1″ deep. A half batch of this recipe fits in an 8″x8″ pan.
- Parchment paper to line the pan
- Large bowl
- Smaller mixing bowl or glass measuring cup to weigh ingredients before adding to larger bowl
- Food scale
- Rubber spatula
- Measuring spoons
- Sharp chef knife
Now you’re ready to make Fruit and Nut bars
- Preheat oven to 325 degrees F.
- Once you decide which dried fruits and nuts you’re going to use, weigh them out and pour into the large mixing bowl. I use 1/3 of each, pecans, almonds and cashews.
- Next, weigh your shredded coconut, pepitas, cranberries and chia seeds and add them to the mixing bowl.
- Finally, weigh your maple syrup and add salt and vanilla. Stir this mixture some to dissolve your salt slightly.
- With a rubber spatula, stir all of your ingredients, being careful to coat everything well with the maple syrup.
- Prepare your pan by lining it with a piece of parchment, allowing the paper to stick up above the top of the pan. You want to be sure the paper is pressed into the creases and corners of the bottom of the pan. I often use the back side of my thumb nail to crease the paper, pressing it into the bottom crease of the pan.
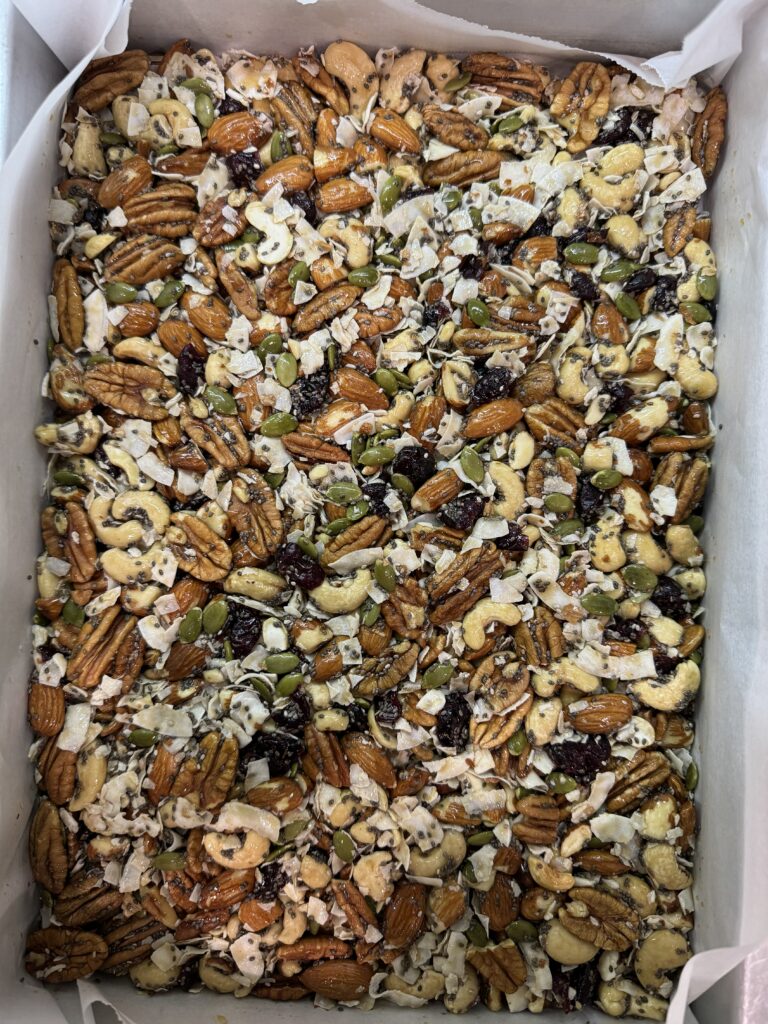
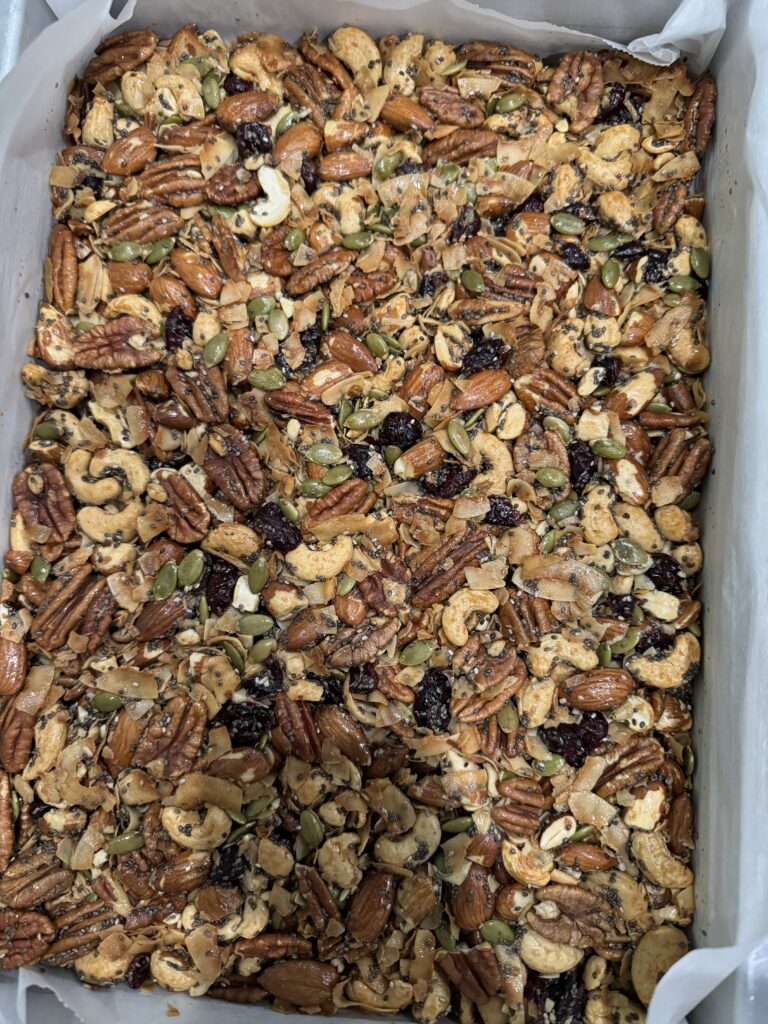
- Pour the mixture into the prepared pan and spread evenly.
THIS IS THE MOST IMPORTANT PART…
Using the rubber spatula, press the mixture, pretty forcefully, into the pan. You want to press all of those nuts, fruit and seeds into each other so it bakes into a solid bar. I always start at one end and work across and then down the length of the pan. Sometimes, you will be able to see a spot that is higher, or maybe lower, apply pressure with the flat, rubber spatula to the high spot, pressing in the direction of the lower.
Place in a preheated oven and back 14 minutes, rotate and back an additional 14 minutes. All of my recipes are written encouraging a rotation halfway through, I have found that most ovens have a hot spot or do not bake evenly, and this will help give you the best results!
As you can see in the two pictures below:
The top picture is before baking and the bottom after. You want them to darken, but just slightly. If you over bake them, they will break when cutting.
Fruit and Nut Bars can be stored easily and enjoyed on-the-go, making them perfect for busy lifestyles.
Cutting your Fruit and Nut Bars
Once the nut bars are done baking, they should be slightly golden brown on top, but you do not want them too DARK. This will make your bars crunchy and they will not cut cleanly, they will crumble.
Let them cool COMPLETELY. Do not try to cut them warm, they will fall apart. I try to bake them the day before so I do not have this issue, but it is not necessary as long as you leave time for them to cool. If you are going to bake and then cut the following day, allow to cool slightly before wrapping tightly with plastic wrap.
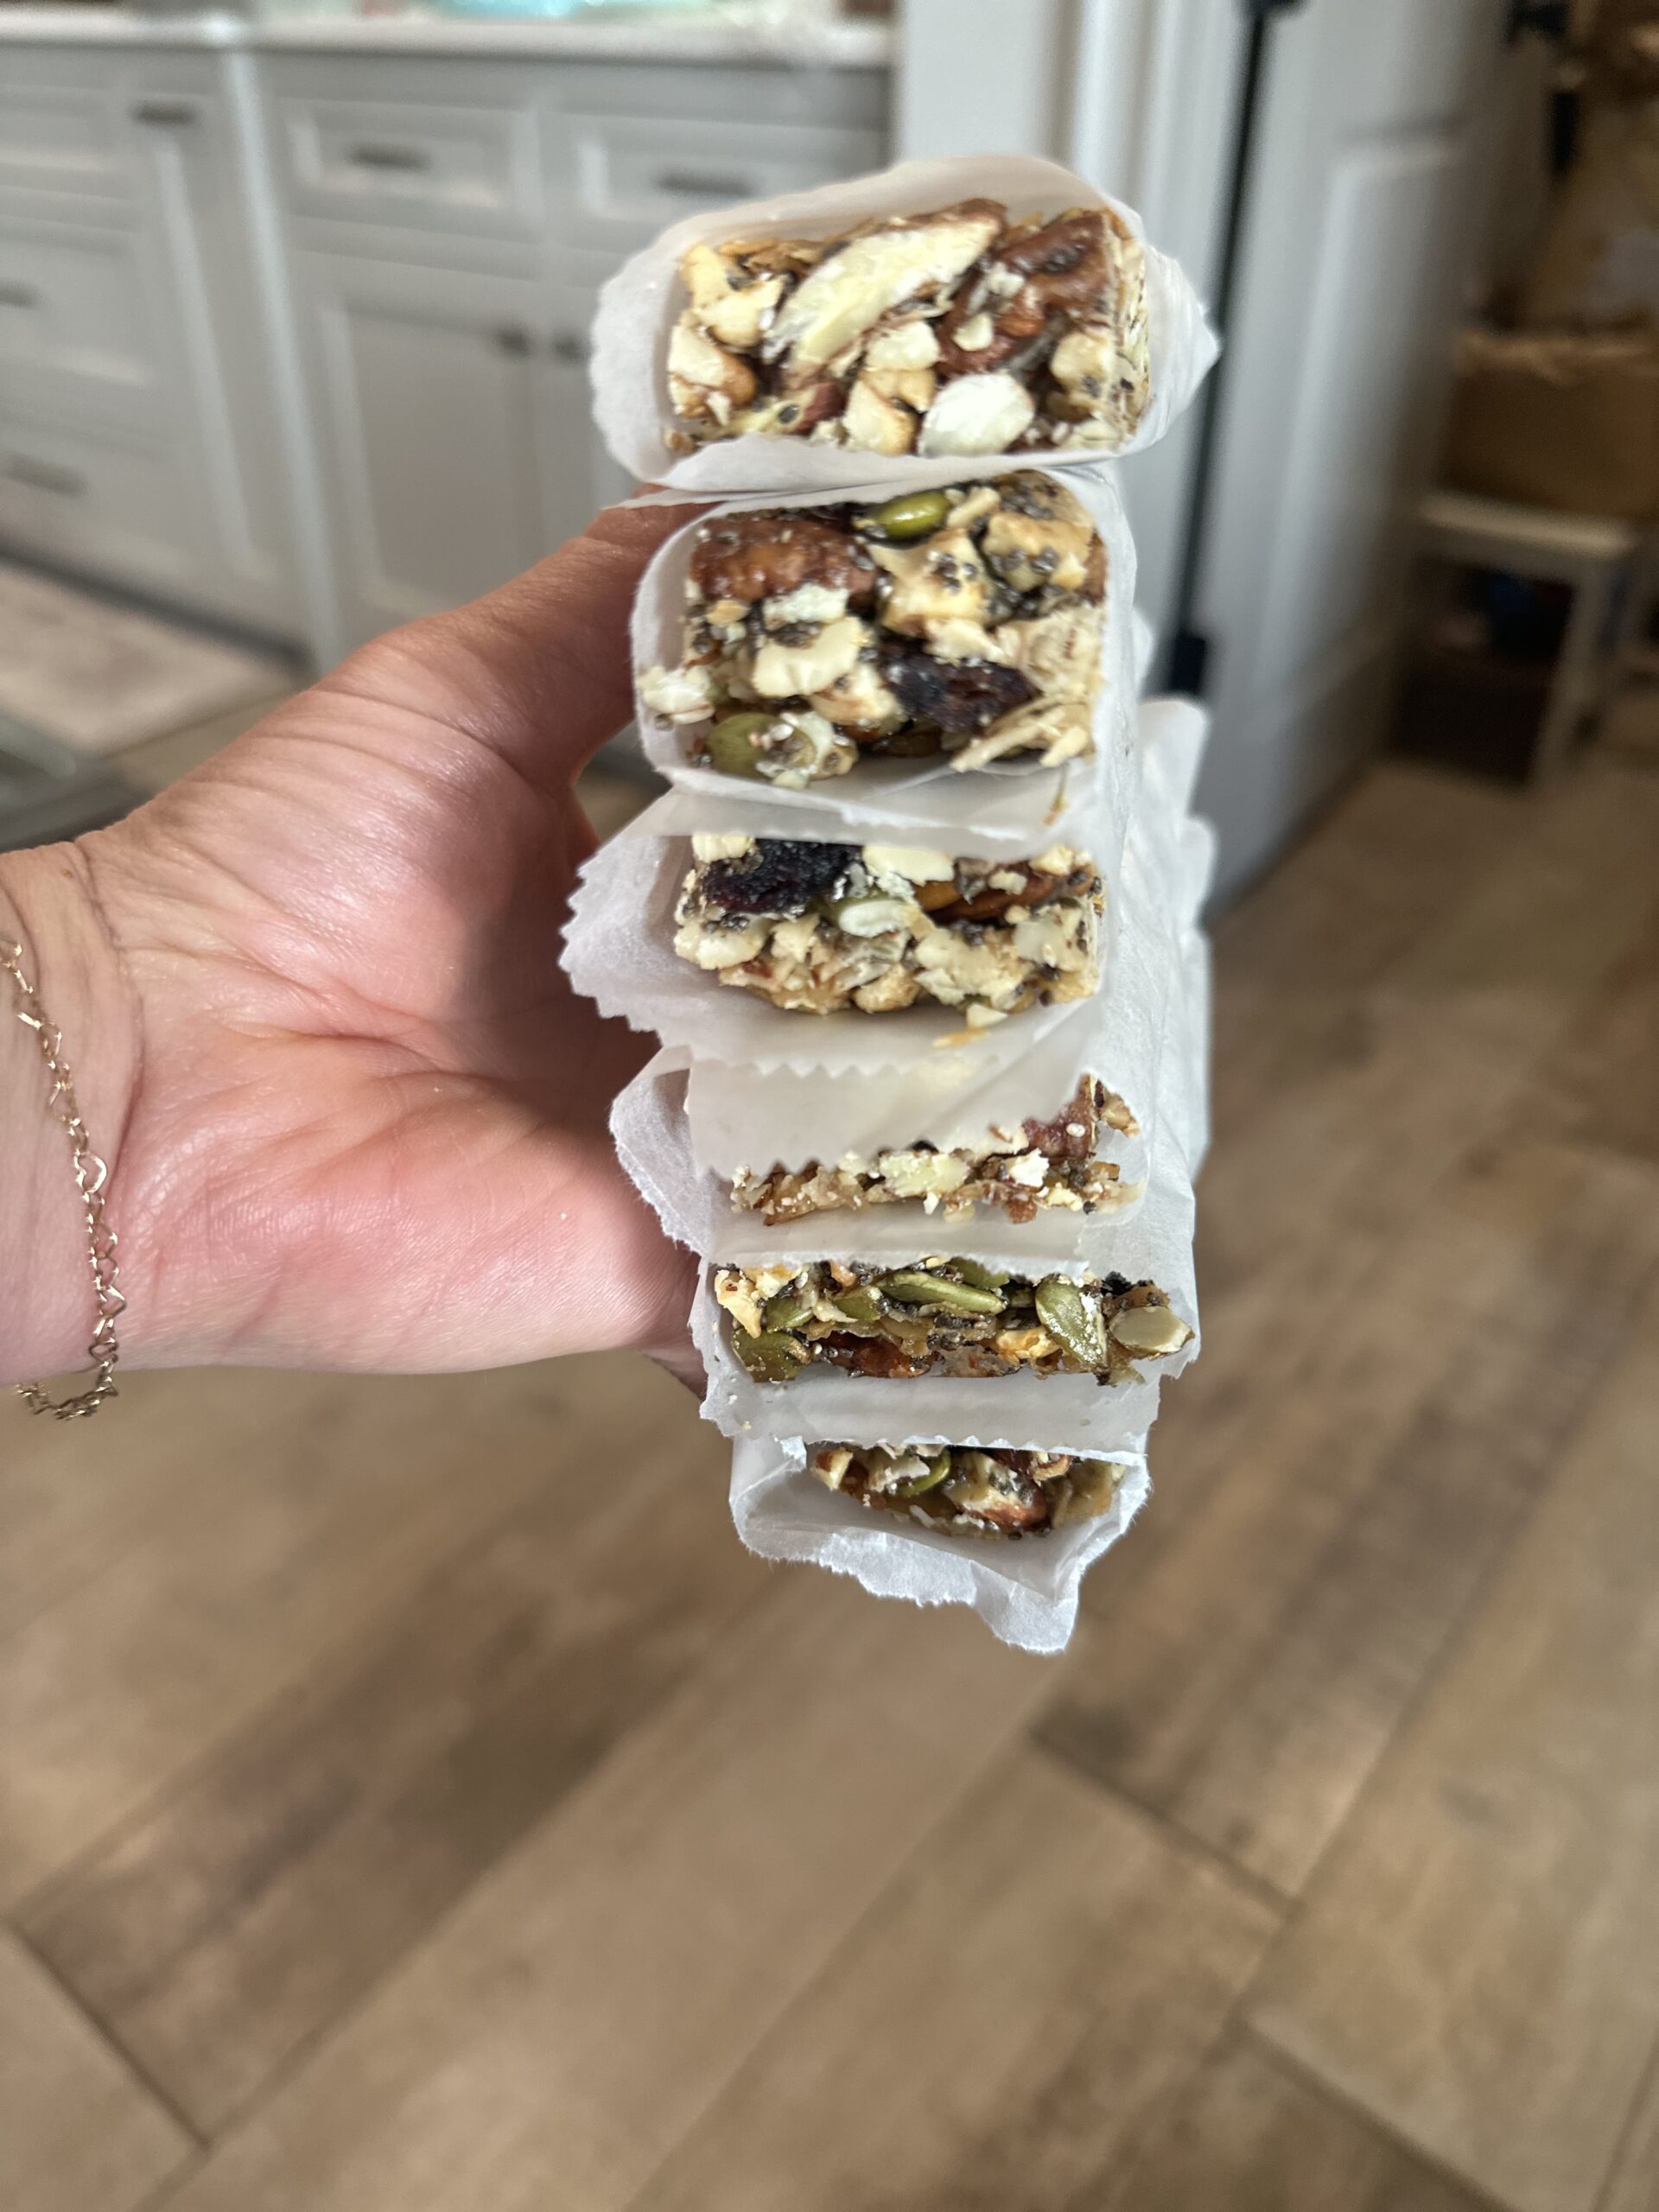
Using the parchment paper left sticking up on the sides of the pan, pull the whole sheet of Fruit and Nut Bars out of the pan and place on a cutting board. In my 9″x13″ pan, I am able to get 2 rows of 8 Fruit and Nut Bars. I make my first 2 cuts in the middle long ways, and then the cross cut, in the middle going the other direction. After these 2 cuts you are left with 4 equal sections of Fruit and Nut Bars. Then cut those in half, and then half again. You can cut your Fruit and Nut Bars any size you would like!
Storing your Fruit and Nut Bars
After I cut my bars, I like to wrap them in individual pieces of waxed paper. You can cut strips from your larger paper, or I order these deli sheets of waxed paper. They are relatively cheap and come 500 to a box. I cut them in half along the crease and use each half to wrap a bar. This will keep them from sticking together. You can also store them in an airtight contain a single layer high with no waxed paper between them. I found the individually wrapped ones make it easier for packing in kids lunches.
These will stay good at least 2-3 weeks in an airtight container at room temperature. You can freeze for up to 3 months. Although, I will warn you, let these come back to room temperature completely, or you will break a tooth on a frozen bar!
When making Fruit and Nut Bars, consider using a mix of your favorite nuts and fruits for a personalized touch.
Enjoy these homemade Fruit and Nut Bars as a healthy snack anytime during the day!
FAQ Fruit and Nut bars
My fruit and nut bars are not cutting cleanly, what did I do wrong?
There could be a couple of reasons. If they are not baked long enough, the maple syrup will not have caramelized enough to hold the fruit, nuts and seeds together. Pop it back in the oven for 3-5 minutes and try to crisp them up. If they are crunchy and just falling apart when you are cutting, they are overbaked. At this point, the only option is to crumble and call it a lesson learned. I have done this and added it to my oatmeal or kids cereal! Finally, if you do not press your mixture down into the pan enough, they will be too loose and not bake into a firm bar. Be sure you use the flat side of your rubber spatula and press firmly into the pan to level out.
Should I use whole nuts or chopped nuts?
I have found, that if I am doing a variety of nuts, they cannot ALL be large, I need to run one of them in the chopper just for a couple of pulses. This helps them all piece together more tightly and make a firm bar when baked. If you are doing all 1 type of nut, like almonds, you may want to take half of them and put them in the food processor for a couple of pulses just to provide some smaller pieces to mix in with the large.
Fruit and Nut Bars
Equipment
- 1 9×13 pan
- 1 Sharp knife Chef knife is easiest
Ingredients
- 568 grams nuts total 189g each: Pecans, Almonds, Cashews
- 71 grams large shredded coconut
- 75 grams dried fruit cranberries
- 60 grams pepitas
- 40 grams chia seeds
- 1/2 tsp Redmond's Real Salt
- 158 grams pure maple syrup
- 2 tsp vanilla extract
Instructions
- Preheat oven to 325℉
- In a large mixing bowl add all nuts, fruits and seeds.Pecans, almonds, cashews, coconut, cranberries, pepitas and chia seeds
- In another mixing bowl, add maple syrup, salt and vanilla extract. Stir a few times to dissolve the salt slightly.
- Pour the maple syrup mixture over the nut mixture and stir with the rubber spatula until all ingredients are evenly coated with the syrup mixture.
- Prepare a 9"x13" pan by lining with parchment paper. Make sure to press paper in the corners of the bottom and edges of the pan. Using your nail. crease the paper into these creases. Allow the paper to stick up above the top of the pan so you have something to grab onto and pull the nut bars out of the pan to cut.
- Scrape your mixture into the prepared pan. With the flat side of the rubber spatula, spread the mixture evenly and then begin to press the mixure firmly into the bottom of the pan. Work from one end of the other. If you have thick spots, press those down to fill in some of the thinner spots.
- Once the mixture is even and pressed into the pan, place into the preheated oven. Bake for 14 mintues, rotate the pan and bake for an additional 14 mintues.
- Be sure to keep a close eye on the bars, as over baking will cause them to crumble and not be able to be cut into bars.
- When the bars are baked, remove them from the oven and let cool atleast 2 hours. You can wrap and allow to cool over night and cut the following day.
- Using a very sharp knife, cut into 16 bars. I am able to get 8 across and two from top to bottom, for 16.
- Using small squares of waxed paper, wrap each bar so they do not stick together and place in an airtight container or large ziplock bag. If you have a large enough container to place them in a single row high and not stacked, you do not have to individually wrap.
- Store for 3 weeks at room temperature or 3 months frozen.
Nutrition
Substitutions and variations to the recipe
I have written this recipe in grams so you can make substitutions by weight and the overall texture and consistency should remain the same. Assuming you substitute a dry ingredient for a dry ingredient, pecans for walnuts and sunflower seeds for pepitas. I do not recommend making a substitution for the pure maple syrup as I think it is the right consistency to coat all of the ingredients but not caramelize when baking, making the bars too chewy or crispy. As the recipe is written, you can still call these a healthy snack. Nuts offer a hefty dose of healthy fats, there is minimal sugar and the chia seeds a boost in protein and fiber.
For variations on this recipe, feel free to experiment with different combinations of nuts and fruits in your Fruit and Nut Bars!
If you aren’t as worried about this being a healthy snack and you are looking for a true treat, you can substitute for things like:
Mini chocolate chips
Mini marshmallows
Toffee Pieces
We have even dipped the bottoms of the bars in dark chocolate after they have been cut and this was a huge hit!
THANK YOU!
Thank you so much for trying this recipe, I hope you love this Fruit and Nut Bar recipe as much as my family does. If you make this recipe, please share and tag me on Instagram or Facebook! And, please leave a comment or star rating below. I love to see everyone be successful in the journey to a healthier lifestyle with fresh milled flour! Don’t hesitate to contact me with any question, chances are we will both learn something from us working through it together!
Happy Baking!
Bailey Basics is a participant in the Amazon Services LLC Associates Program, an affiliate advertising program designed to provide a means for sites to earn advertising fees by advertising and linking to amazon.com. I may earn a commission, with no additional cost to you, if you purchase through those links.
Consider adding unique ingredients to your Fruit and Nut Bars for an extra burst of flavor!
I hope you love this Fruit and Nut Bars recipe and find it to be a staple in your healthy snack rotation!