Finding a good pie crust recipe when converting your kitchen to fresh milled flour is a must. After much trial and error with ingredients and which process is best, this recipe has proven to be tried and true! Pie crust made with fresh milled flour is my holiday staple as well as my quiche and pot pie crust! If you’re new to fresh milled flour, HERE is a post to you have to read!
This post may contain affiliate links, please see our privacy policy for details.
Tips and tricks to pie crust made with fresh milled flour.
Some of the keys to a good pie crust is making sure your butter is COLD, grated fine and not over-working your dough. Small flecks of butter in your dough will make it flaky and delicious. The more you mix the dough, the more likely it will be crunchy and hard. If you have a food processor, I highly recommend using it for this recipe. You can always use a bowl and pastry cutter if you do not.
What you will need to make your pie crust…
Fresh milled flour-I use soft white wheat or spelt for my crust recipes
Butter-unsalted, grated and then put in the freezer
Ice cold water
Eggs
Salt
Rolling pin
Parchment or waxed paper
Time to make your pie crust with fresh milled flour
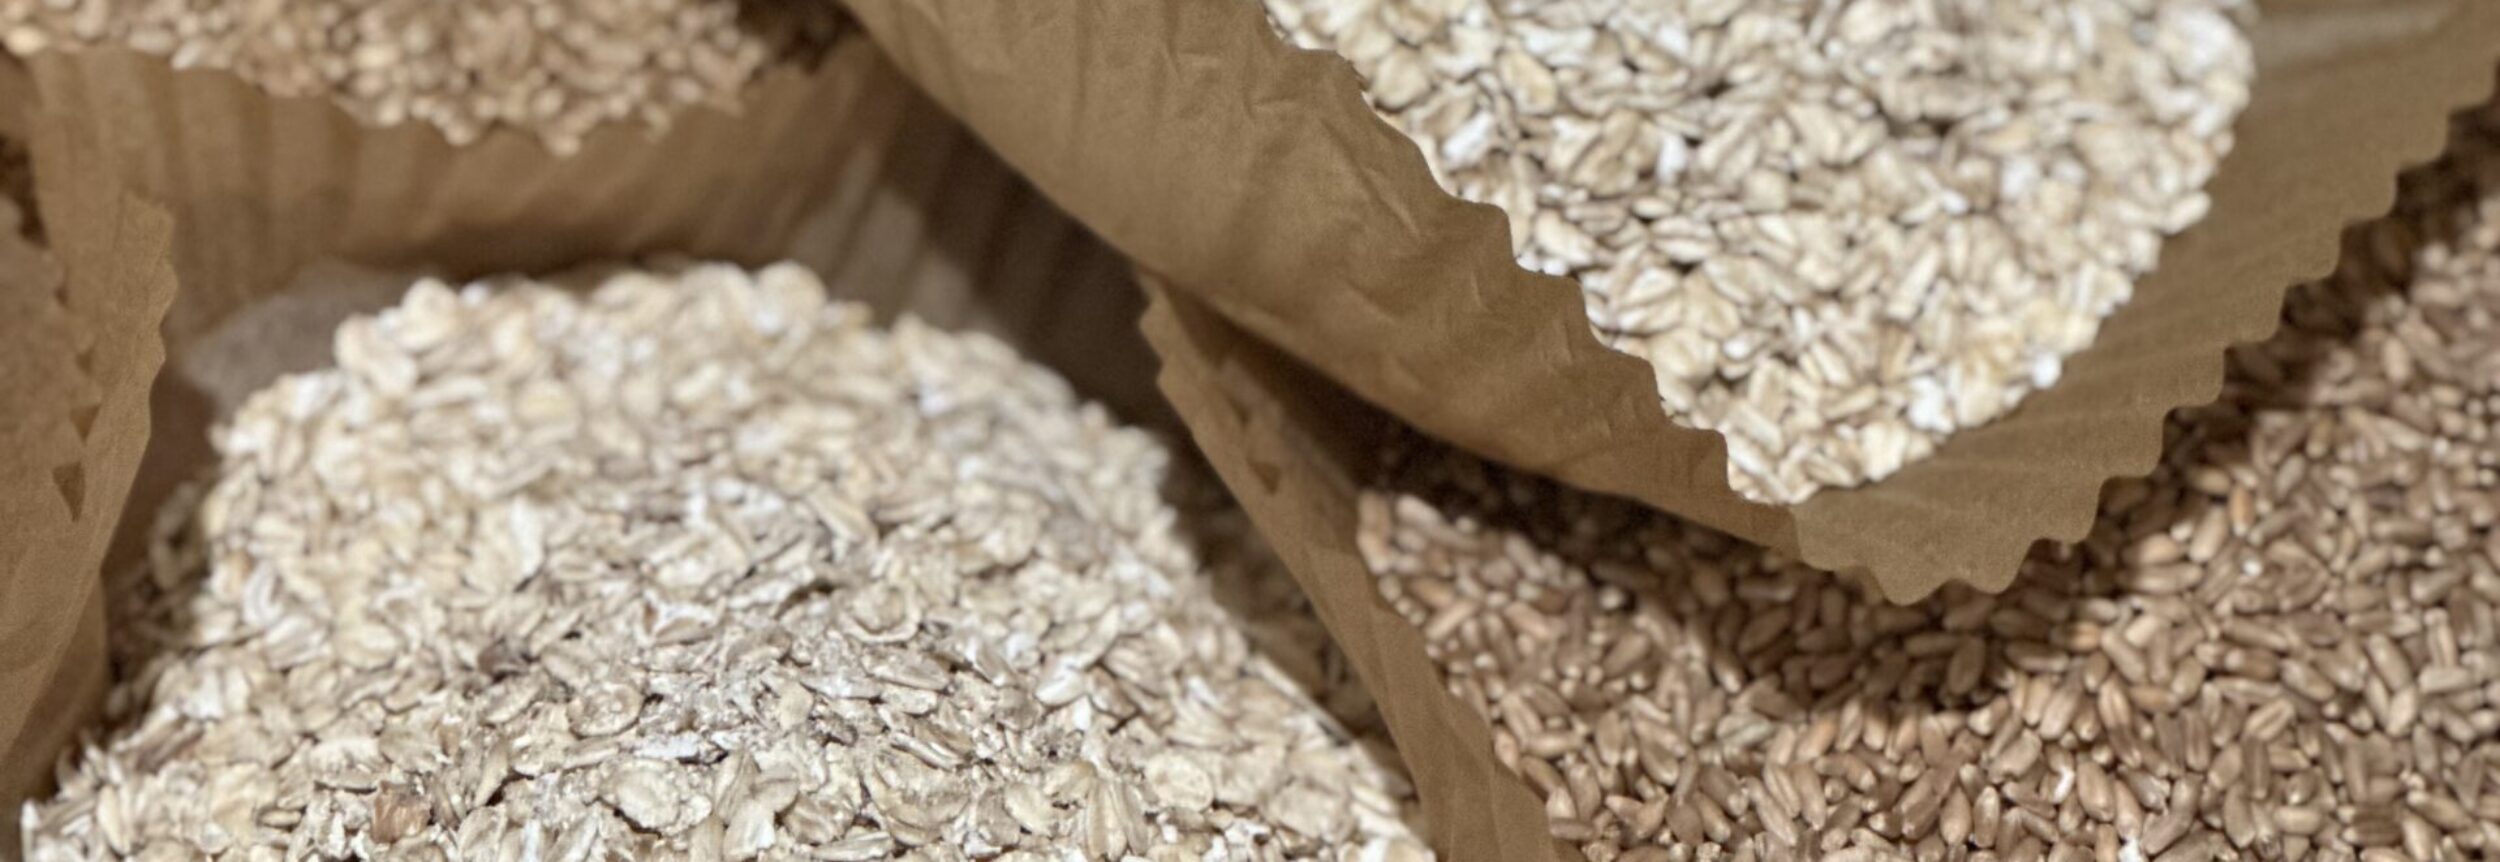
First, I mill my wheat berries on the finest setting. I do let this cool off slightly before adding to the recipe, just while I am gathering the other ingredients. When I am in a hurry, I will pop the bowl of flour in the freezer for just a bit to cool it off. As long as your butter and water is cold, I have found this recipe to work just fine with the flour not being completely cooled.
Next, I grate my butter with a cheese grater. If you have the grater attachement for your food processor, I like to use it since I am going to add everything to it anyways. Dump the butter into another bowl and set in freezer for 10-15 minutes.
In the food processor, add your flour and salt, mix to combined.
Add your chilled butter back to the processor and process for 10 seconds. This should look like breadcrumbs at this point.
Crack eggs into mixture and pulse 5 seconds
Add ice water and process for 20-30 seconds or until the mixture begins to ball up.
Pour your dough out onto a floured work surface. At this point, I either divide in half and roll out or refrigerate/freeze for later use. If you put in the refrigerator or freezer, you will want to allow to warm back up before attempting to roll out.
Rolling out the dough…
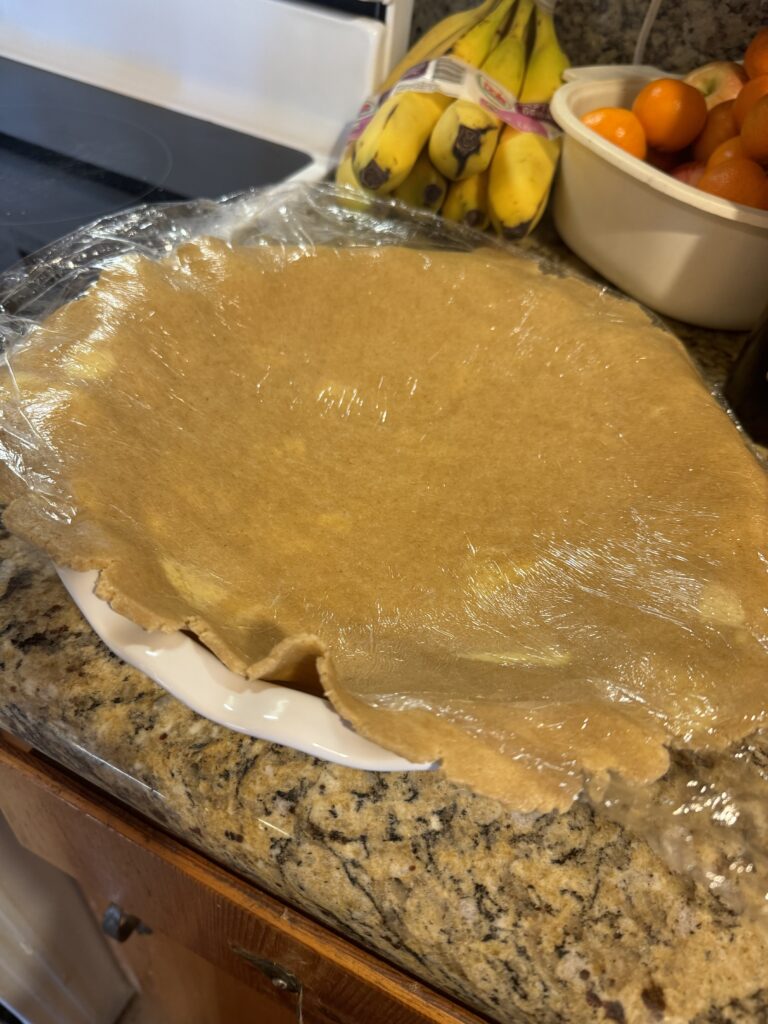
The trick to rolling out dough and being able to transfer to a pie pan is parchment or waxed paper (or even plastic wrap if you’re desparate). Place a piece of parchment on the counter, place your dough ball on top and then top with another piece of parchment. Roll out to 1/4″ thick between the two sheets. Remove your top piece of parchment and grabbing the bottom piece, carefully flip the crust over onto your pie pan. Gently, peel back your paper, leaving the crust behind.
In this image, I rolled my crust between two pieces of plastic wrap because we were traveling and didn’t have parchment or waxed paper. Either way it works out, you just need to be able to lift the crust up so it does not tear!

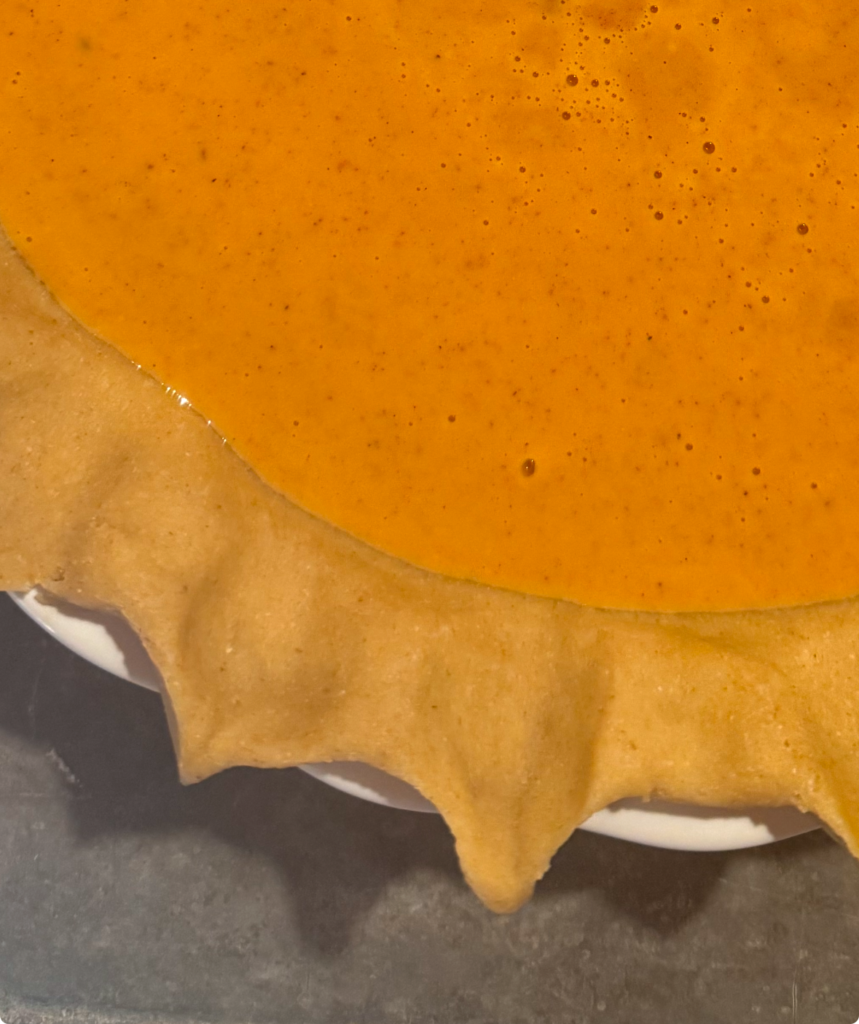
Using your thumb and pointer finger on one hand, pinch the dough, pressing the dough with your pointer finger on the other hand to crimp and create a point.

Bake as instructed for the pie recipe you are following.
Frequently asked questions when it comes to pie crust made with fresh milled flour
Can I use store bought flour with this recipe?
Of course, I would encourage you to read a little more about fresh milled if you have the time!
Can I freeze pie crusts after I put the dough in the pan?
Absolutely! During the holidays I will go ahead and make my crusts, place them raw in the freezer for 30 minutes and then saran wrap the whole pie crust and store. If you press the saran wrap down into the bottom of the crust, you can stack them in the freezer 3-4 high depending on your freezer space.
Can I use this recipe for other things?
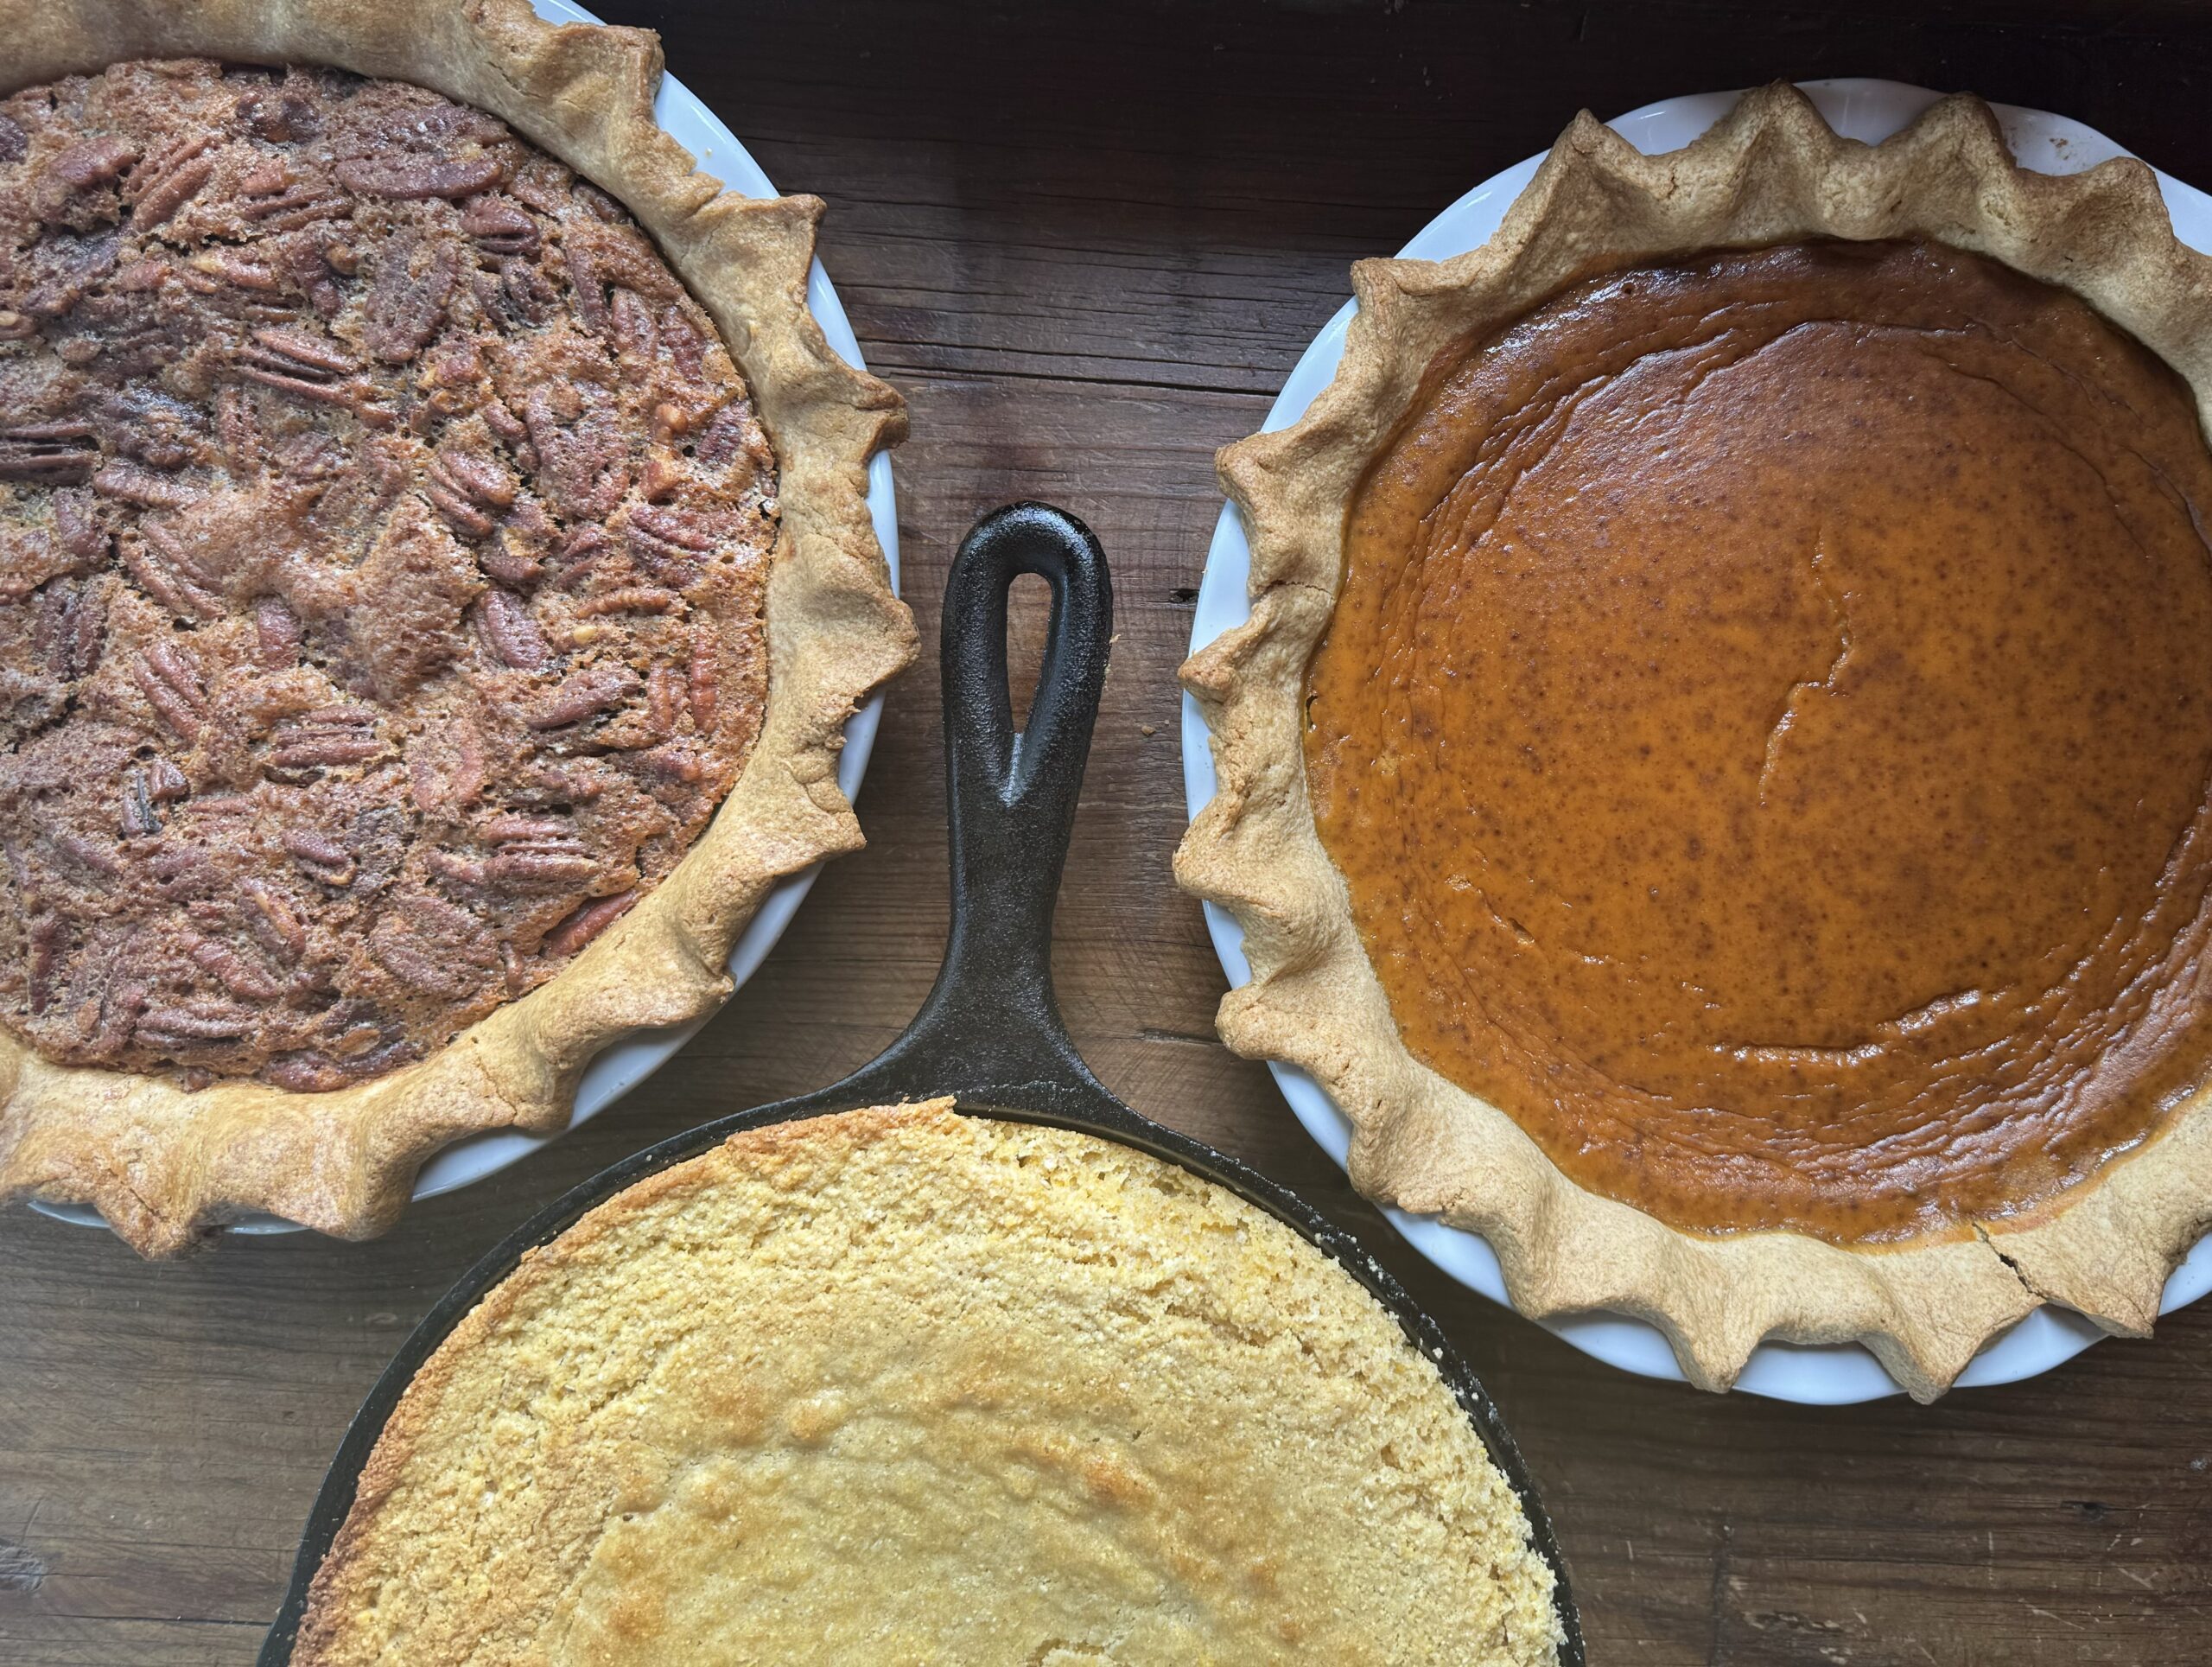
Yes, I have used it for Quiche, Chicken pot pie as well as hand pies. You could even use it to make homemade pop tarts or other fruit fill pastries.
Pie crust made with fresh milled flour
Ingredients
- 350 grams soft white wheat (can use AP flour as well)
- 8 oz Butter, unsalted (2 sticks) Grated and frozen
- 1/2 tsp Redmond's Real Salt
- 2 eggs
- 4 Tbsp water, ice cold
Instructions
- First, mill your wheat and set aside for it to cool off
- Next, I grate my butter. You can do this with a hand held cheese grater, or I often use my food processor since I will be using it anyways!If you use your food processor, scoop the butter into a bowl and put the butter in the freezer. If you are using a manual cheese grater, grate into a bowl and place in freezer.
- Add your flour and salt to the food processor fitted with the chopping blade. If you do not have a food processor, you can use a bowl and pastry cutter. Pulse just until combined
- Add your chilled butter to the flour and process for 10 seconds. It should look like breadcrumbs at this step.
- Crack your eggs into the mixture and pulse for 5 seconds
- Add your ice water and process for 20-30 seconds until the mixture balls up. Do not over mix the dough or it will be hard and crunchy instead of light and flaky.
- If you plan to roll your dough out right away, pour onto a floured piece of parchment or waxed paper and divide into 2 equal pieces.With one ball of dough on the paper, set the other ball of dough aside. Top your dough with another piece of paper and roll until 1/4" thick between the pieces of paper.
- Gently remove the top piece of paper and grabbing the bottom paper on 2 opposite corners, flip over onto your pie pan. Gently pull the paper back, leaving the pie crust behind. Press the dough into the corners of the pan. Working your way around the pie pan, you can trim excess dough until you have atleast 1/2" of dough over hanging the edg of the pan on all sides. Using your thumb and pointer finger on one hand, pinch the dough between your fingers. With your pointer finger on the other hand, press between your other 2 fingers to bring the crust to a point. Repeat around your pan until you have returned back to your first point.
- If you do not want to roll out and use your crust right away, wrap each ball of dough and then flatten into a disk. Store in fridge for 2 days or freezer for 3 months. When ready to use, pull and allow to warm up until you are able to roll it out. You want it to still be cool so it will hold together, warm dough is difficult to work with.
- Proceed with the pie recipe of your choice.
Nutrition
Recipe Card
Closing Paragraph
THANK YOU!
THANK YOU!
Thank you so much for trying this recipe, I hope you love this pie crust made with fresh milled flour, as much as my family does. If you make this recipe, please share and tag me on Instagram or Facebook! And, please leave a comment or star rating below. I love to see everyone be successful in the journey to a healthier lifestyle with fresh milled flour! Don’t hesitate to contact me with any question, chances are we will both learn something from us working through it together!
Happy Baking!
Bailey Basics is a participant in the Amazon Services LLC Associates Program, an affiliate advertising program designed to provide a means for sites to earn advertising fees by advertising and linking to amazon.com. I may earn a commission, with no additional cost to you, if you purchase through those links.
Bailey Basics is not a dietician or nutritionist, and any nutritional information shared is an estimate. If calorie count and other nutritional values are important to you, we recommend


This recipe makes the best flaky pie crust. The golden brown crust makes for a fantastic looking pie. Thanks for sharing ❤️
So glad you enjoy this recipe!