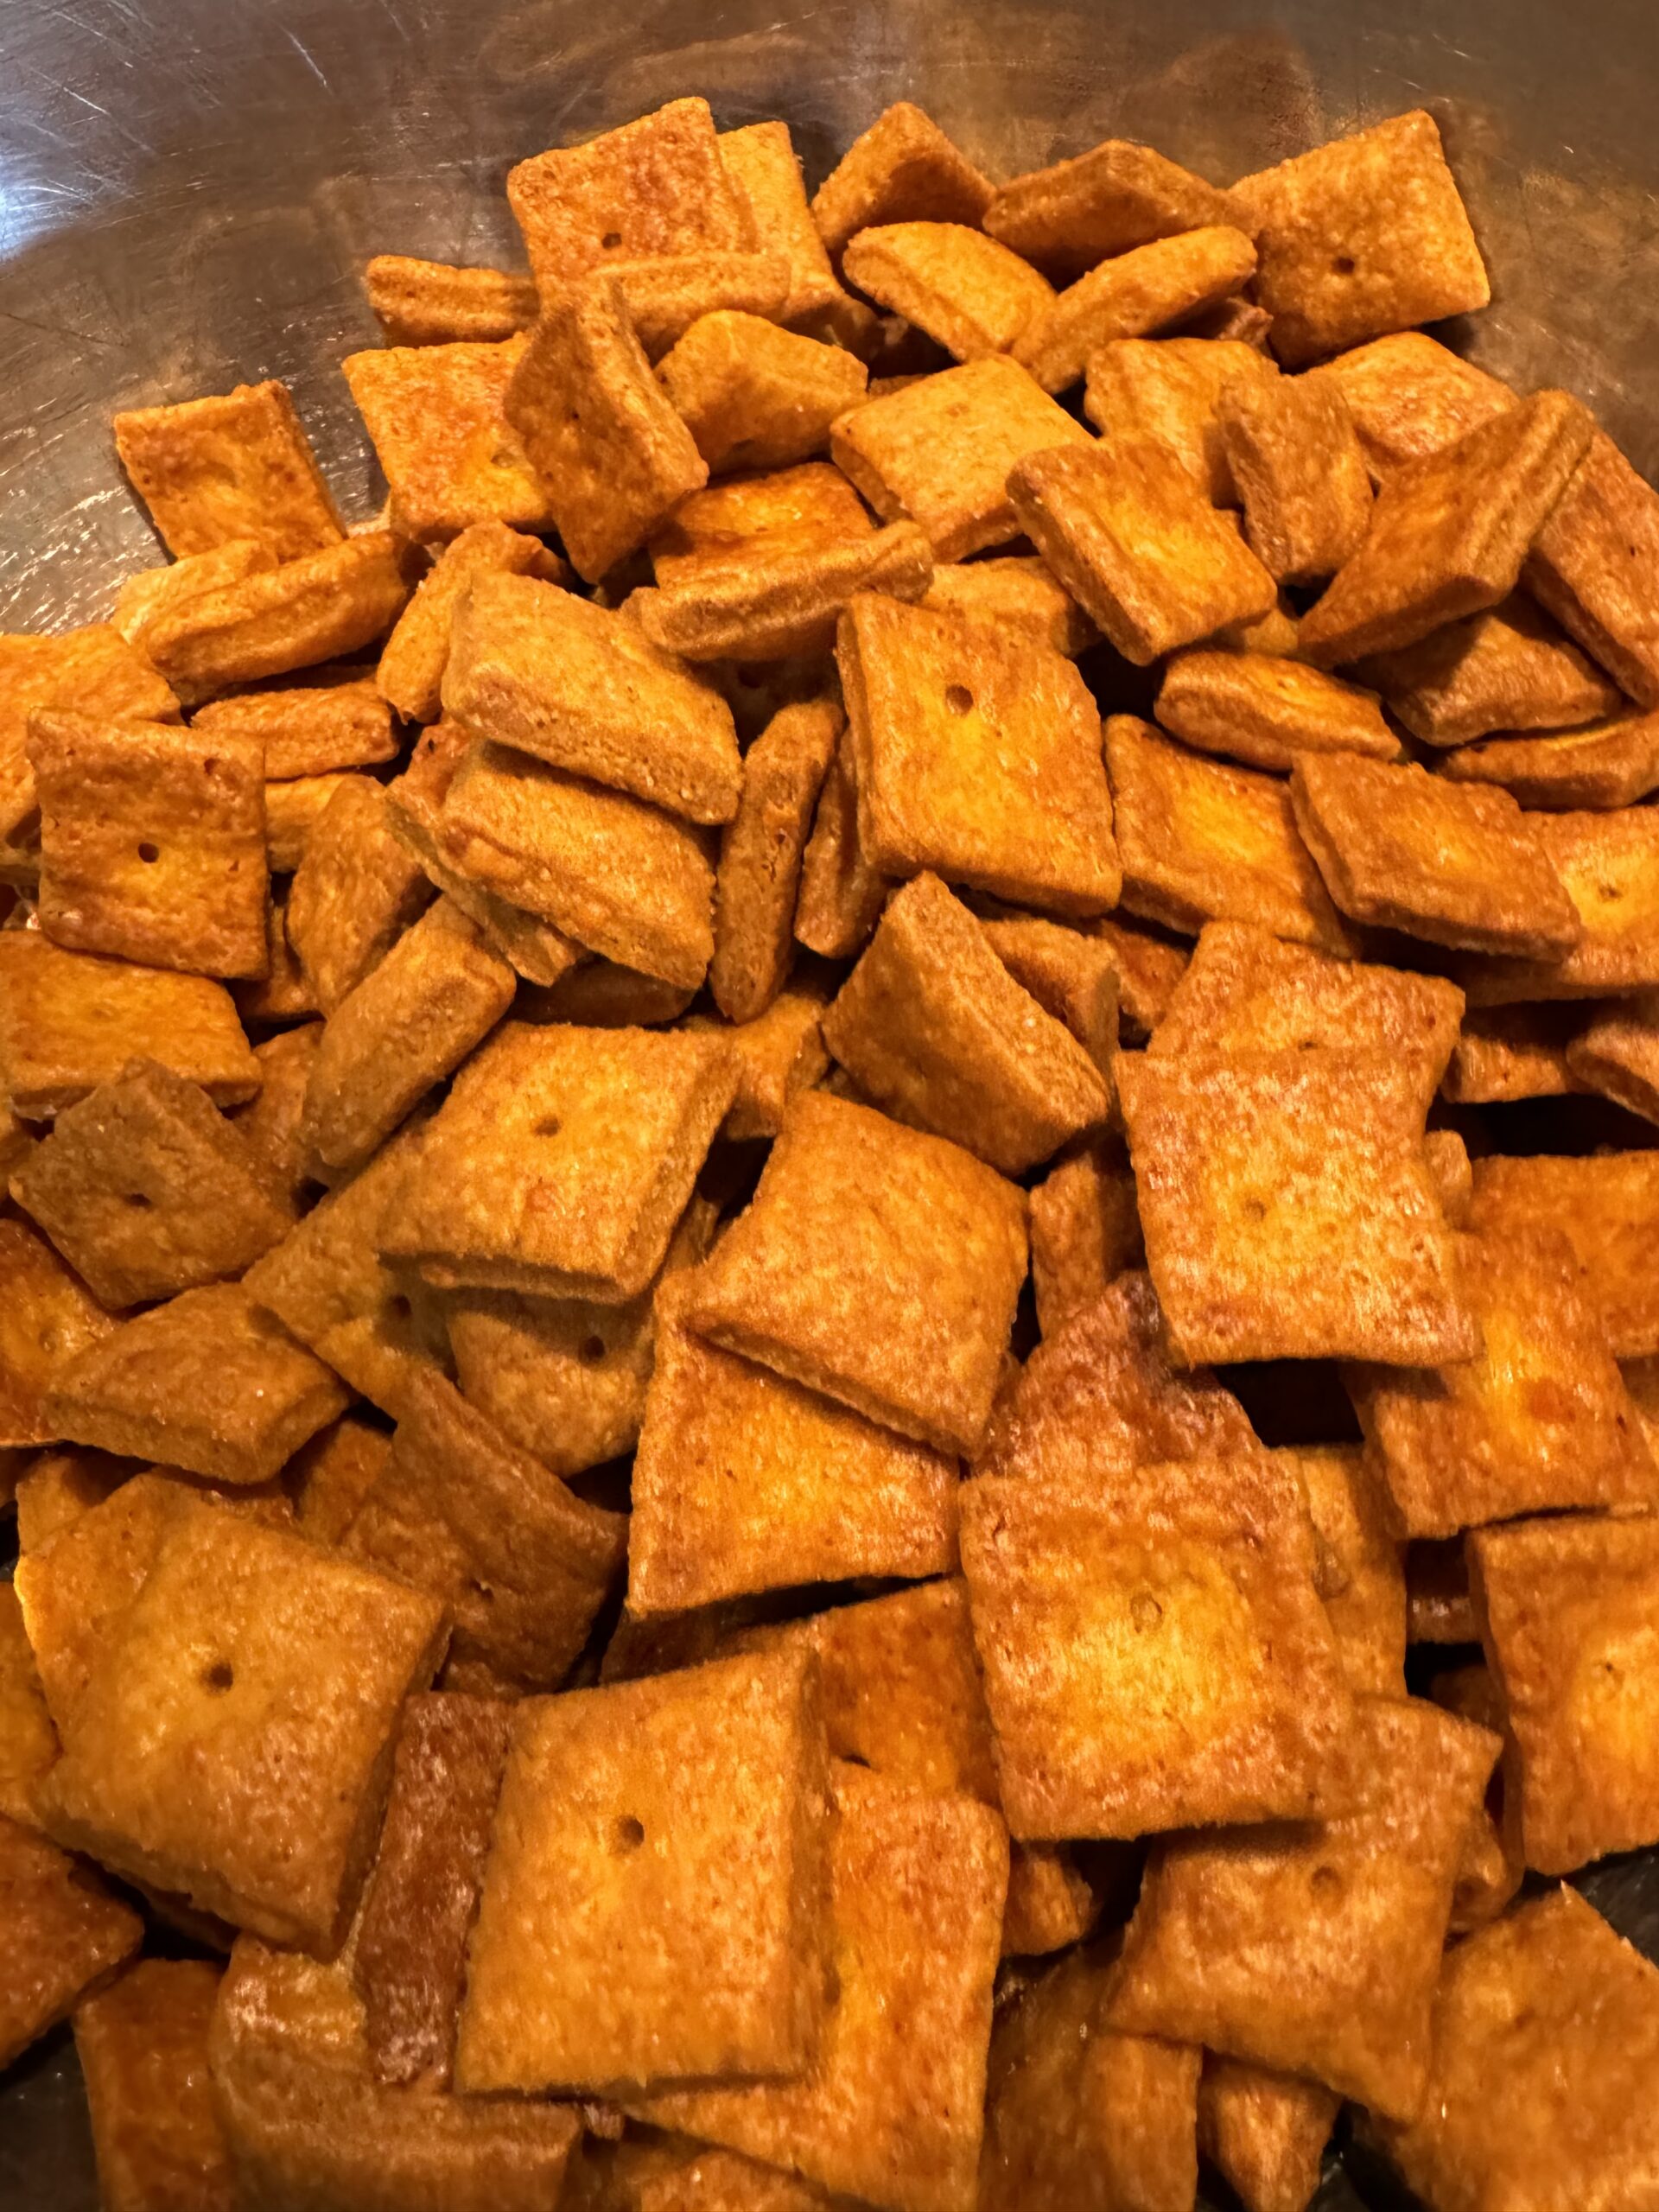
If you love Cheez-its you will LOVE these cheese crackers made with fresh milled flour. They are crispy, cheesy, salty and slightly addictive! After lots of trial, error and taste testing, I think I finally mastered these little tiny square crackers and don’t feel the least bit guitly as I endulge in this salty snack!!
If you’re new to fresh milled flour or unsure what this is, here is some more information to help you get started!
This post may contain affiliate links, please see our privacy policy for details.
In 2023, I started milling my own wheat and working to eliminate ultra-processed foods from our home. I wanted to be able to control the ingredients my family was eating and also, give them as much nutrient dense food as possible. By milling the spelt and soft white wheat, these crackers have a good amount of fiber, protein, healthy fats and more importantly none of the ingredients they don’t need. There are no preservatives, or additives neccessary for these crackers since they don’t have to stay on a shelf for months or even years.
Enough small talk, let’s make some rediculously good crackers!
Ingredients: Cheese crackers made with fresh milled flour
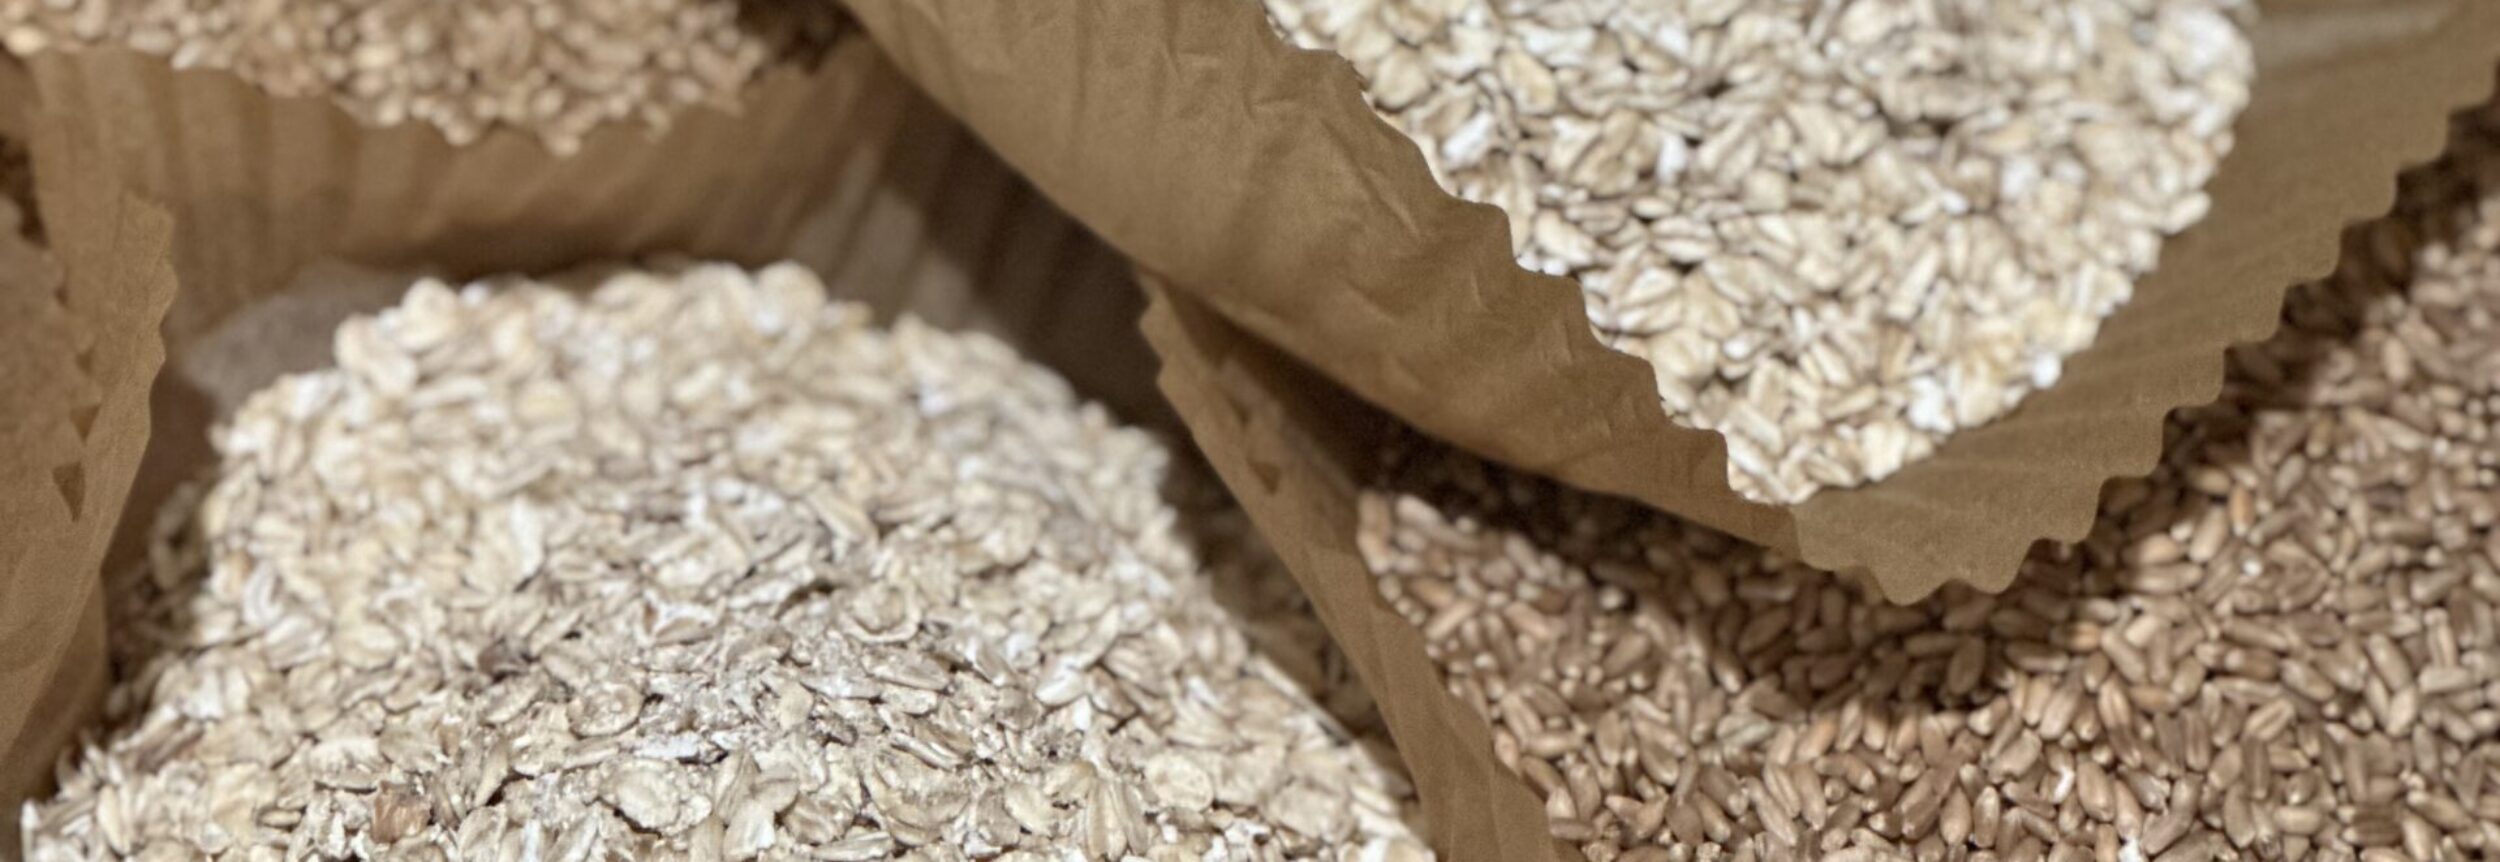
Spelt and Soft white wheat berries
Sharp cheddar cheese
Unsalted Butter
Salt-Redmond’s R!eal Salt: This is the only salt we use in our kitchen. It is mined in Utah and contains all of the naturally occuring trace minerals and is unprocessed!
Granulated garlic-I prefer this over garlic powder and do not recommend making the substitution
Onion powder
Tomato Paste
And a little bit of water
Let’s get started!
Mill your grains on the finest setting on your mill
Next, grate your cheddar cheese and butter. I like to use my food processor with the grater attachment for this, but you can use a hand grater.
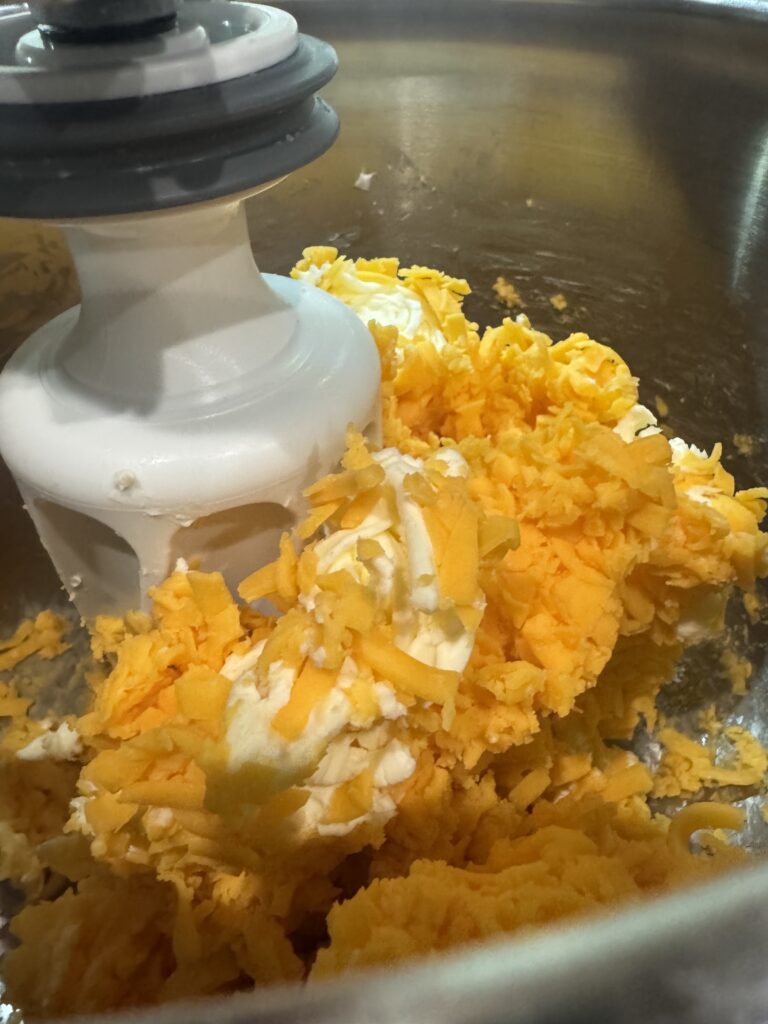
In a stand mixer fitted with a paddle on a Kitchen Aid style mixer or Roller on your Ankarsrum mixer, add your butter and cheese. Start to soften these on the lowest setting just until they begin to combine. Next, add your flour and spices to the bowl slowly so you do not fling any dough out of the mixer. As this mixes, pour in the water and tomato paste. Mix until you have a smooth, consistent dough.
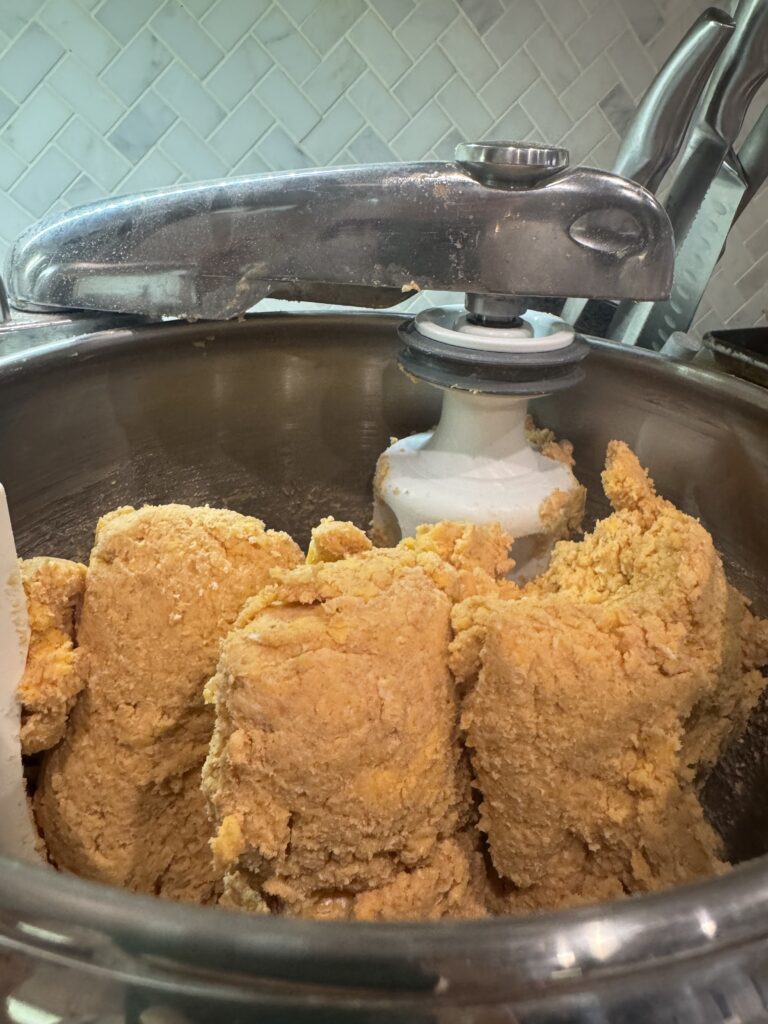
Divide the dough into 4 equal sections. Scoop the dough sections out onto plastic wrap and wrap each into a ball. Flatten the balls of dough into disks a couple of inches thick. Place them in the refrigerator for atleast 1 hour or until you are ready to roll out and bake.
Time to cut the crackers
Preheat oven to 350 degrees
Pull dough from the refrigerator when you are ready to bake and allow to warm up until they are soft enough that you can roll them out. If my dough was only in the fridge for the one hour, I can usually roll it out right away. If I leave it in the fridge over night, It usually takes about 30 minutes for it to warm up slightly.
On a silicone mat, roll out your dough as thin as you can get it. I try to get mine to 1/8″. The thinner you can get your dough, the crispier they will be and better! If you do not have a silicone mat, roll your dough between two pieces of parchment paper.
Using a pizza cutter, cut your crackers into 1″x1″ squares. I have a 5-wheel pizza cutter that saves a lot of time if you make these often, they are about same price as a single pizza cutter!
After you cut your dough into 1″ squares, remove any excess dough from the edges that did not cut into a complete square. Sprinkle salt on the top of the crackers and using a chopstick, poke a hole in the center of each cracker.
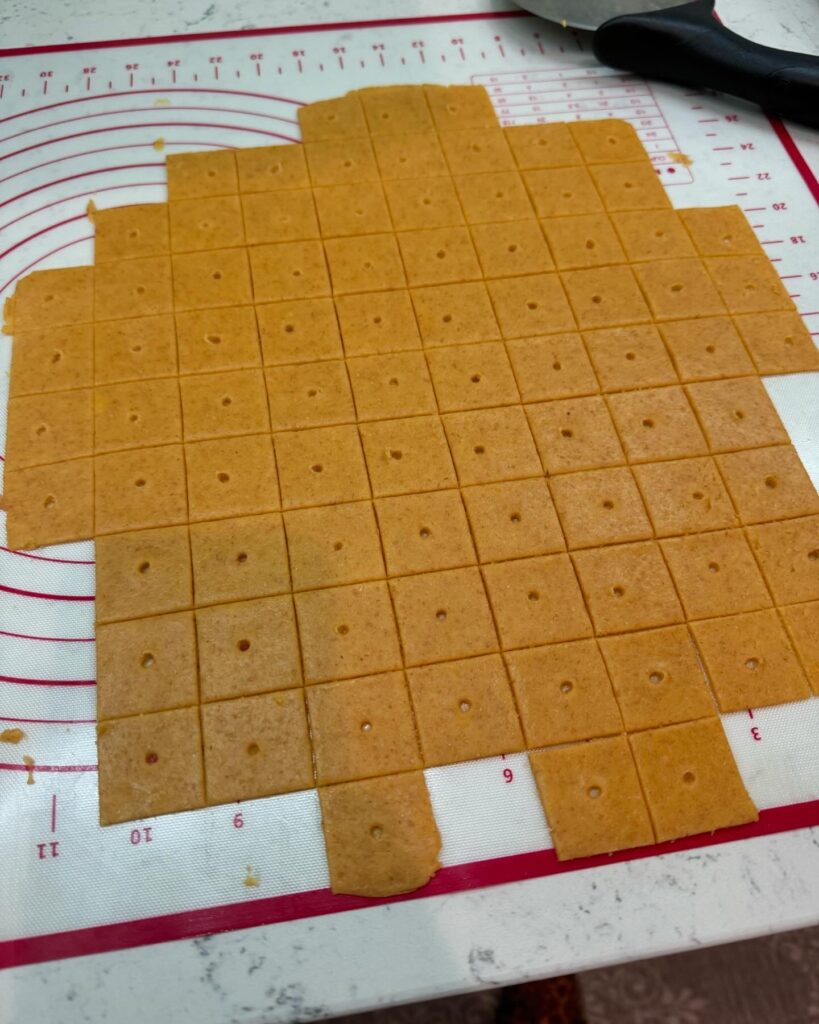
Transfer your crackers to a parchment lined sheet pan, making sure the crackers do not touch. They will shrink some when they bake.
Because every oven is so different, it is going to be crucial you watch your crackers closely until after you bake them and can find the perfect time for your specific oven.
This photo ws my crackers at the halfway point.
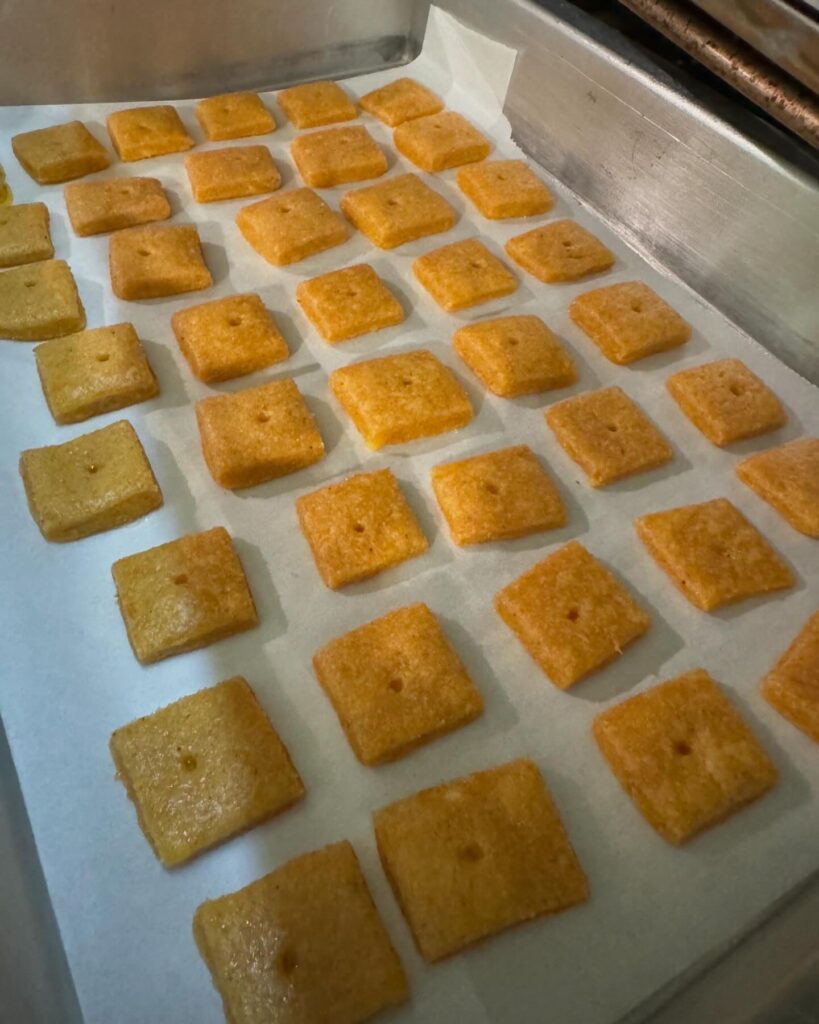
I bake on the convection bake setting for 16 minutes and rotate halfway through baking. Your crackers should be a dark golden brown around the edges when they are done. I do think they need to bake longer than I initially expected. In fact, I lost track of time and thought I burned them, and was shocked how delicious they were. The real test is when the crackers cool, they should have a good crunch and not be soft. I have found them to retain their flavor and texture longer when I bake them longer and make them a little more crispy.
Storage and shelf life
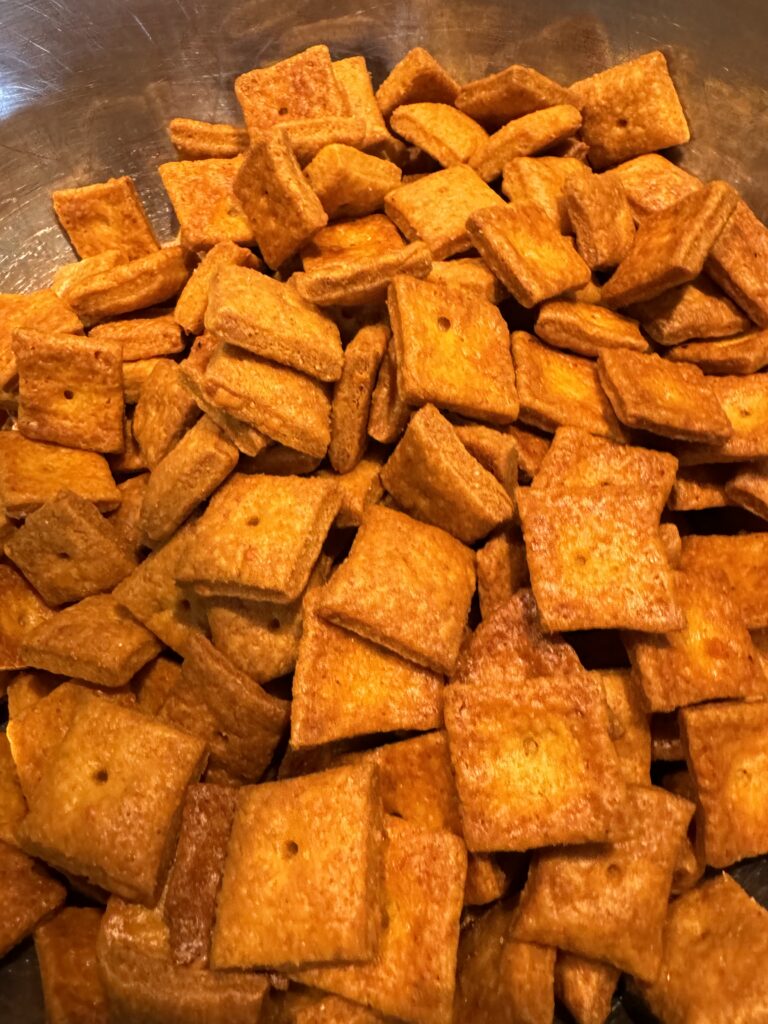
I have found that the longer I bake my crackers, the longer they taste fresh and crispy. I have also found that if I divide them into smaller containers/bags they will taste fresher longer. This also helps me with portion control, otherwise I will eat the whole gallon ziplock bag! You can store in individual ziplocks, larger ziplocks, a glass or plastic tupperware bowl, anything that has a good seal.
FAQ-Cheese crackers made with fresh milled flour
Can I freeze my dough?
Yes, I often double this batch because the ingredients are weighed out, it doubles well. I do like to put my dough disks, wrapped in plastic, inside a ziplock bag. If the dough is not wrapped well, it will begin to oxide and darken in color.
What if I don’t have spelt?
Spelt is a very versatile grain that contains enough protein to made bread, but is mild enough to pair with softer grains for crackers, muffins and pastries. I use it in my pancakes, cookies and crackers as well as breads! You can use all soft white wheat in this recipe if you do not have spelt.
Do I have to poke a hole in the center of the cracker, or is that just for looks?
I have ommitted this step by accident a time or two and have found that the cracker puffs up and will remain softer, never crisping up as much as when there is a hole in the center. You can cut your crackers however you’d like, play with different shapes and sizes. I seem to find new tricks either by mistake or when I experiment, so don’t be afraid to try something new!
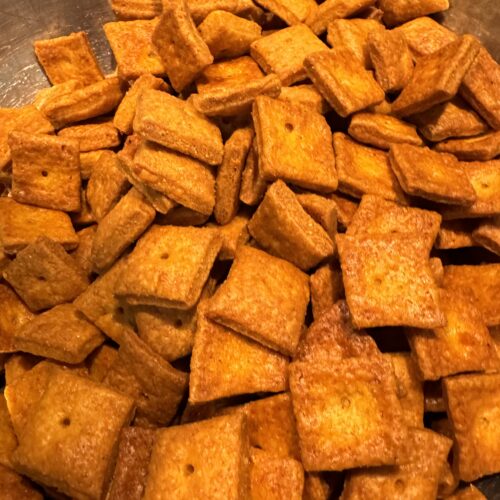
Cheese Crackers Made with Fresh Milled Flour
Equipment
- 1 Cheese grater If you don't have a food processor with a grater attachment
- 1 Chopstick
Ingredients
- 16 oz sharp cheddar cheese block, not pre-shredded
- 4 oz butter 1 stick
- 120 grams spelt
- 120 grams soft white wheat
- 4 Tbsp water
- 1 tsp onion powder
- 2 tsp granulated garlic NOT garlic powder
- 1 Tbsp tomato paste
- 2 tsp Redmond's Real Salt plus additional for sprinkling after cutting
Instructions
- Mill your grains on the finest setting on your mill
- Next, grate your cheddar cheese and butter. I like to use my food processor with the grater attachement for this, but you can use a hand grater.
- In a stand mixer fitted with a paddle on a Kitchen Aid style mixer or Roller on your Ankarsrum mixer, add your butter and cheese. Start to soften these on the lowest setting just until they begin to combine.
- Next, add your flour, salt, garlic and onion powder to the bowl slowly so you do not fling any dough out of the mixer. As this mixes, pour in the water and tomato paste. Mix until you have a smooth, consistent dough.
- Divide the dough into 4 equal sections. Scoop the dough sections out onto plastic wrap and wrap each into a ball. Flatten the balls of dough into disks a couple of inches thick. Place them in the refrigerator for atleast 1 hour or until you are ready to roll out and bake.
- Preheat oven to 350 ℉
- Pull disks of dough from the refrigerator when you are ready to bake and allow to warm up until they are soft enough that you can roll them out. If I had it in the fridge for just an hour, I can usually roll out right away. However, if I left in longer, I will have to let it warm up slightly before rolling out.
- On a silicone mat, roll out your dough as thin as you can get it. I try to get mine to 1/8". The thinner you can get your dough, the crispier and better they will be. If you do not have a silicone mat, roll your dough between two pieces of parchment paper.
- Using a pizza cutter, cut your crackers into 1"x1" squares. I have a 5-wheel pizza cutter that saves a lot of time if you make these often, they are about same price as a single pizza cutter! After cutting your squares, remove excess dough that does not make up a full square around the edges. Sprinkle your dough with more salt. Just a light dusting. This gives it the course, salty texture of commercially produced cheese crackers! Using a chopstick, poke a hole in the center of each cracker.
- Transfer your crackers to a parchment lined sheet pan, making sure the crackers do not touch. They will shrink some when they bake.Because every oven is so different, it is going to be crucial you watch your crackers closely until after you bake them and can find the perfect time for your specific oven.
- I bake on the convection bake setting for 16 minutes and rotate halfway through baking. Your crackers should be a dark golden brown around the edges when they are done. I do think they need to bake longer than I initially expected. In fact, I lost track of time and thought I burned them, and was shocked how delicious they were. The real test is when the crackers cool, they should have a good crunch and not be soft. I have found them to retain their flavor and texture longer when I bake them longer and make them a little more crispy.
Nutrition
THANK YOU!
Thank you so much for trying this recipe, I hope you love these Cheese Crackers as much as my family does. If you make this recipe, please share and tag me on Instagram or Facebook! And, please leave a comment or star rating below. I love to see everyone be successful in the journey to a healthier lifestyle with fresh milled flour! Don’t hesitate to contact me with any question, chances are we will both learn something from us working through it together!
Happy Baking!
Bailey Basics is a participant in the Amazon Services LLC Associates Program, an affiliate advertising program designed to provide a means for sites to earn advertising fees by advertising and linking to amazon.com. I may earn a commission, with no additional cost to you, if you purchase through those links.
Bailey Basics is not a dietician or nutritionist, and any nutritional information shared is an estimate. If calorie count and other nutritional values are important to you, we recommend
