


This Chocolate Cake recipe is a staple in our kitchen. It is our go to for a simple birthday cake or cupcakes, as well as filling with a coffee mousse for a Chocolate Espresso Cake. The Italian Chocolate Buttercream is light a fluffy but oh so rich and creamy. As I have worked to switch my kitchen over to fresh milled flour, I have found keeping with a couple good basic recipes with simple add-ins is best. Use the same base and add different spices, fillings and garnishes, instead of having multiple recipes for different cakes!
If you’re new to fresh milled flour or unsure what this is, here is some more information to help you get started!
This post may contain affiliate links, please see our privacy policy for details.
Use this base recipe and get creative with fillings and decorations!
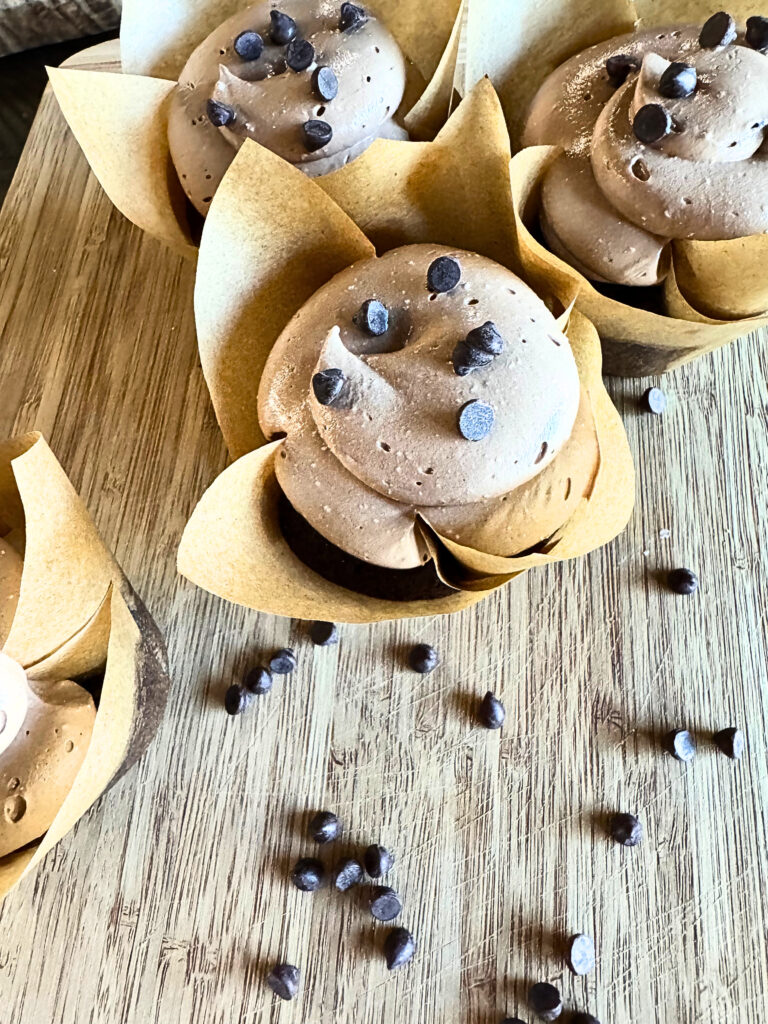
Table of Contents
Equipment needed to make this Chocolate Cake
- Grain Mill
- Stand Mixer
- Digital Scale
- Measuring spoons
- Measuring cups
- 3- 9″ Round cake pans
- 6 cupcake liners
- Muffin tin
- Serrated knife
- Sifter
- Rubber Spatula
- Parchment Paper
- Small Sauce Pans
- Pastry Brush
- Cake icing spatula, small offset spatula and bowl scraper or dough blade.
- Pastry bag
If you are just starting out and searching for a grain mill, here is a video comparison of grain mills to help you make an informed decision.
Chocolate Cake Ingredients
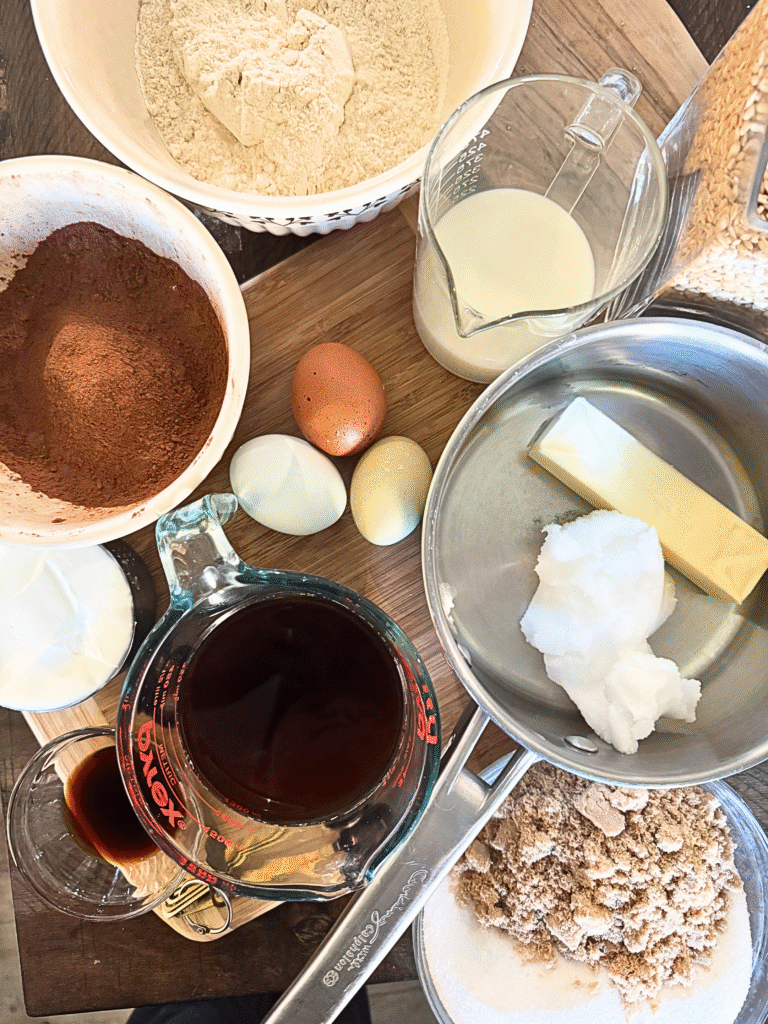
Cake
- Soft White Wheat Berries-You can also use Einkorn, Spelt or Soft Red Wheat. Try different grains, you will be surprised which end up being your favorite.
- Sugar
- Brown Sugar-add molasses to cane sugar if you don’t have any
- Salt–Redmond’s Real salt is all I use!
- Eggs
- Greek Yogurt– you can also use sour cream
- Coconut Oil
- Butter
- Milk
- Cacao Powder-can use cocoa powder
- Coffee-strong
- Vanilla Extract
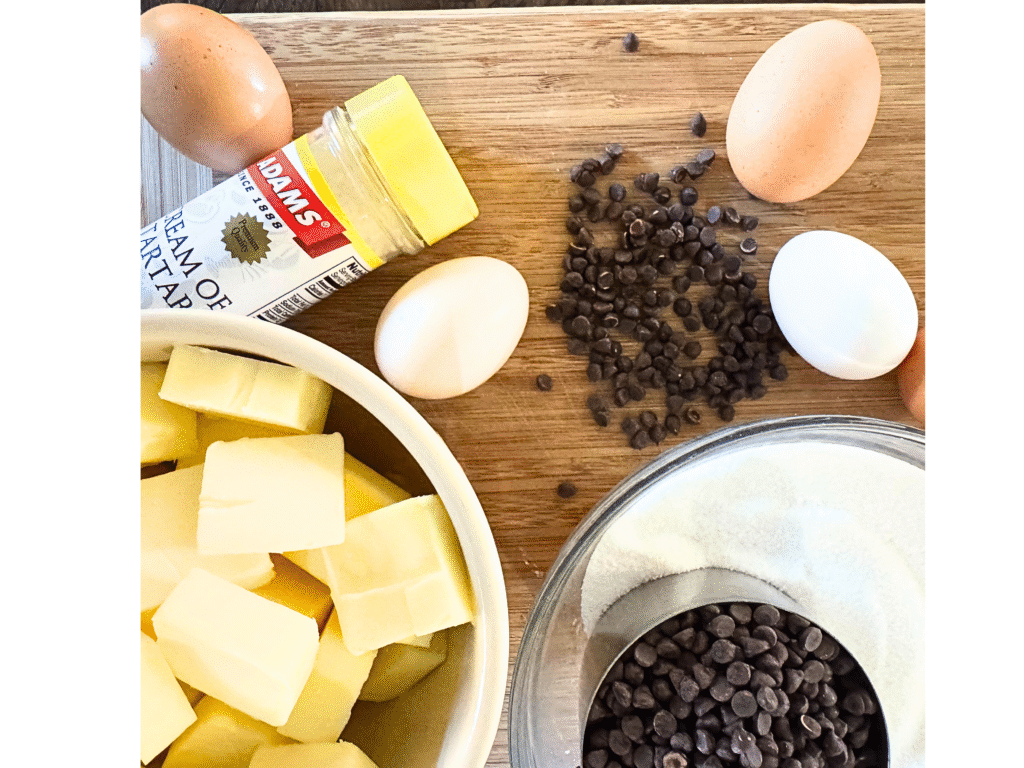
Icing
- Butter
- Egg whites
- Cream of tartar
- Semi-sweet chocolate chips
- Sugar-granulated
- Water
Let’s get started!
Cake
- Preheat your oven to 350 degrees F.
- Mill your soft white wheat berries into flour. Sift the flour separating the bran out and place in a small glass bowl.
- To the bran, add your milk and allow to sit and soften for 20 minutes.
- To the rest of the flour, add baking powder, baking soda, salt, and cacao powder set aside.
- To the stand mixer, add your eggs, sugar and brown sugar, turn the mixer on low.
- Place your coconut oil and butter on the stove in a small sauce pan to melt. Allow to cool slightly.
- Slowly pour your melted butter and coconut oil into the mixer while running.
- Add yogurt.
- Slowly sprinkle in the flour and additional dry ingredients in the mixer. Alternately add the strong brewed coffee.
- Finally add your milk and bran to the mixer.
- Prepare 3, 9″ pans by cutting parchment rounds to fit the bottom of the pan. Spray with oil to coat the sides and parchment.
- This is a very thin batter. You will want to fill your pans 3/4 of the way. It should fill 3 pans as well as make 6 cupcakes or an additional 6″ cake.
- Bake for 35-40 minutes until a toothpick inserted comes out clean.
- Allow to cool completely before removing from the pan. It is a very moist and delicate cake. If you want to freeze for an hour before handling it can help.

Chocolate Buttercream Icing
- While the cake cools, start on your icing.
- Add sugar and water to the stove top. Boil until the syrup reaches 238 degrees F on a candy thermometer (soft-ball stage).
- Meanwhile, place egg whites in the bowl of a stand mixer fitted with the whisk attachment and beat on low speed until foamy. Add cream of tartar, and beat on medium-high speed until stiff but not dry: do not over beat.
- With mixer running on low, add syrup to the whites in a stream. Try not to stream into the whisk as it will fling the syrup against the side of the bowl and immediately harden. This will create small “candy” chunks of syrup in your buttercream and not be a smooth and creamy consistency.
- Beat on high speed until the mixture is no longer steaming, about 3 minutes.
- Add chocolate chips to the bowl of a double boiler or a microwave safe bowl and melt. Set aside
- Touch the bottom of the bowl and ensure the mixture is no longer hot. If it is still warm, the butter will just melt into the mixture and create a soupy icing. Add room temperature butter one tablespoon at a time, beating until smooth and spreadable, 3 to 5 minutes. Beat in vanilla extract. If icing curdles, keep beating until smooth.
- Turn the mixer to low and fold in the melted chocolate just until incorporated.
NOTES: Store in the refrigerator for up to 5 days in a sealed container. Re-whip again until smooth and creamy. Store in freezer for up to 3 months. Allow to thaw in the refrigerator overnight or at room temperature for 2 hours and re-whip until desired consistency again.
Assembling the Chocolate Cake
- I always keep a simple syrup on hand to glaze my chocolate cake (Any of my cakes, really). With a squirt bottle or pastry brush, generously coat each layer before you assemble your cake. You can make a simple syrup with coffee or liqueurs too!
- Place one layer of the cake onto a cake plate or cardboard round. Scoop some icing onto the cake and create a thin layer of icing to coat the cake. You can add raspberry preserves, coffee mousse or any other filling here.
- Repeat this step with the second layer of cake.
- Top with the third layer of cake.
- Take your spatula and apply a thin layer of icing around the sides and top if the cake, called a crumb coat.
- Place in the refrigerator for 15-20 mintues to allow the icing to set up so your layers don’t shift while icing.
- Remove the cake from the fridge and add more icing to the sides and top of the cake until there is no cake showing through.
- HERE is a video of how I ice and decorate my cupcakes, but use your creativity here!

Chocolate Cake with Fresh Milled Flour
Equipment
- 8/9 inch round cake pan
- Cupcake liner
- Sauce Pan
- Sarrated Knife
- Cake Spatulas
- Pastry Bag
- Candy Thermometer or infrared thermometer
Ingredients
- 3 cups Soft White Wheat Flour 360g
- 3/4 cup milk
- 1 cup cacao powder (cocoa powder) 90g
- 1 Tbsp baking powder
- 3/4 tsp baking soda
- 1 1/2 tsp salt
- 3/4 cup coconut oil, melted 169g
- 1/2 cup butter, melted 114g, 1 stick
- 2 1/4 cup sugar, granulated 446g
- 3/4 cup brown sugar 159g
- 3 eggs
- 1 cup greek yogurt
- 1 Tbsp vanilla extract
- 1 1/2 cup strong coffee
Chocolate Buttercream
- 1 1/4 cup sugar, granulated 248g
- 2/3 cup water
- 5 egg whites
- 1 pound butter 452g, 4 sticks
- 1 1/2 tsp vanilla extract
- 8 oz semi-sweet chocolate chips 227g
- 1/8 tsp cream of tartar
Instructions
- Preheat your oven to 350 ℉
- Mill your soft white wheat berries into flour. Sift the flour separating the bran out and place in a small glass bowl. To the bran, add your milk and allow to sit and soften for 20 minutes.
- To the rest of the flour, add baking powder, baking soda, salt, and cacao powder set aside.
- Place your coconut oil and butter on the stove in a small sauce pan to melt. Allow to cool slightly.
- Slowly pour your melted butter and coconut oil into the mixer while running.
- Add yogurt.
- Slowly sprinkle in the flour and additional dry ingredients in the mixer. Alternately add the strong brewed coffee.
- Finally add your milk and bran to the mixer.
- Bake for 35-40 minutes until a toothpick inserted comes out clean.Allow to cool completely before removing from the pan. It is a very moist and delicate cake. If you want to freeze for an hour before handling it can help.
Chocolate Buttercream Icing
- While the cake cools, start on your icing.
- Add sugar and water to the stove top. Boil until the syrup reaches 238 degrees on a candy thermometer (soft-ball stage).
- Meanwhile, place egg whites in the bowl of a stand mixer fitted with the whisk attachment and beat on low speed until foamy. Add cream of tartar, and beat on medium-high speed until stiff but not dry: do not over beat.
- With mixer running on low, add syrup to the whites in a stream. Try not to stream into the whisk as it will fling the syrup against the side of the bowl and immediately harden. This will create small "candy" chunks of syrup in your buttercream and not be a smooth and creamy consistency.
- Beat on high speed until the mixture is no longer steaming, about 3 minutes.
- Add chocolate chips to the bowl of a double boiler or a microwave safe bowl and melt. Set aside to cool slightly.
- Touch the bottom of the bowl and ensure the mixture is no longer hot. If it is still warm, the butter will just melt into the mixture and create a soupy icing. Add room temperature butter one tablespoon at a time, beating until smooth and spreadable, 3 to 5 minutes.
- Beat in vanilla extract. If icing curdles, keep beating until smooth. Turn the mixer to low and fold in the melted chocolate just until incorporated.
Video
Notes
Nutrition
Frequently asked questions about Chocolate Cake
Do I really have to glaze the cake?
You can certainly do whatever you’d like here. I have done cakes for 20 years and always glazed my cakes to keep them moist longer. If you are wanting to skip this step, I would warn you the cake will dry out faster.
Can you taste the coffee in the cake?
If you do not drink coffee, you will likely be able to taste the coffee. I personally think it just brings out the flavor of the chocolate! You can substitute water if you absolutely do not want coffee.
How do I store my cake?
I keep mine on the counter for 3 days under a cake dome. Any longer, you will want to put in an airtight container in the fridge. I do let it come back to room temperature before eating.
Tips and Tricks:
Do not over bake your cake! You want to watch it and bake just until the toothpick comes out clean.
Purchase a turntable if you are enjoying icing and decorating cakes! It’s the easiest way to ice and decorate a cake with minimal cost!
If you love this cake, here are two more of my favorites!
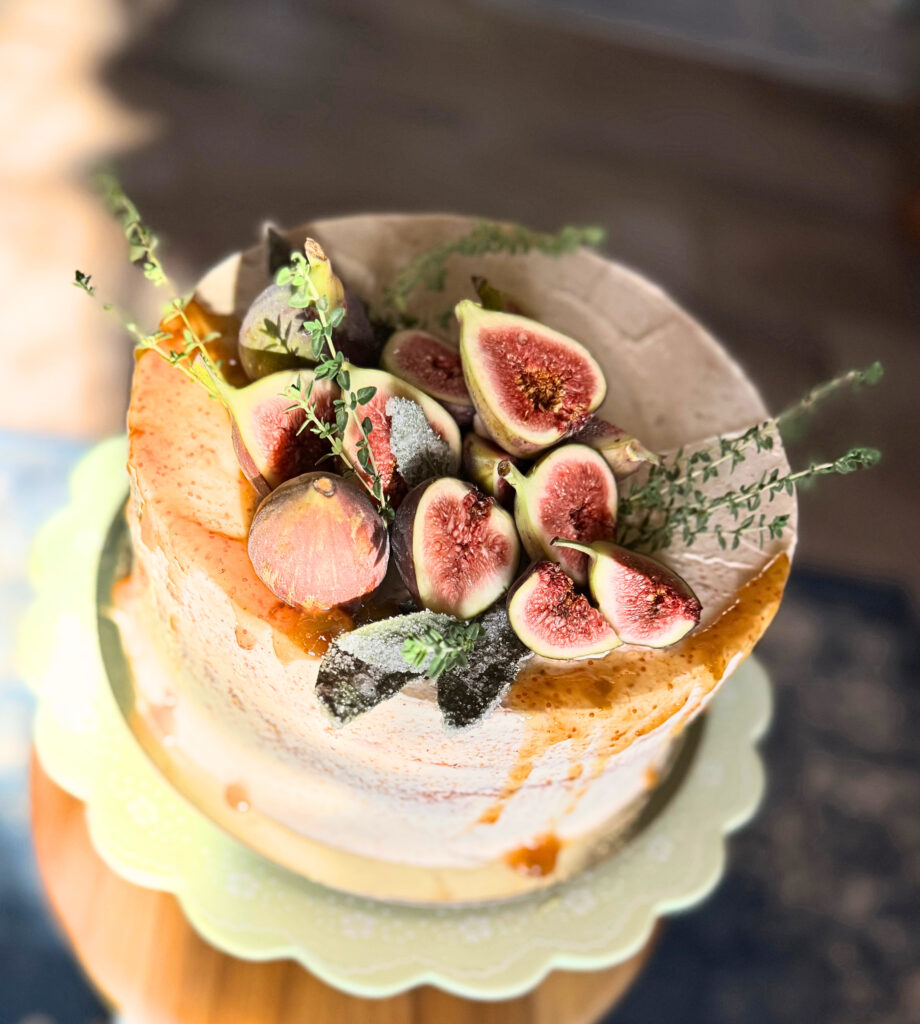
Fig Cake with Brown Butter Buttercream
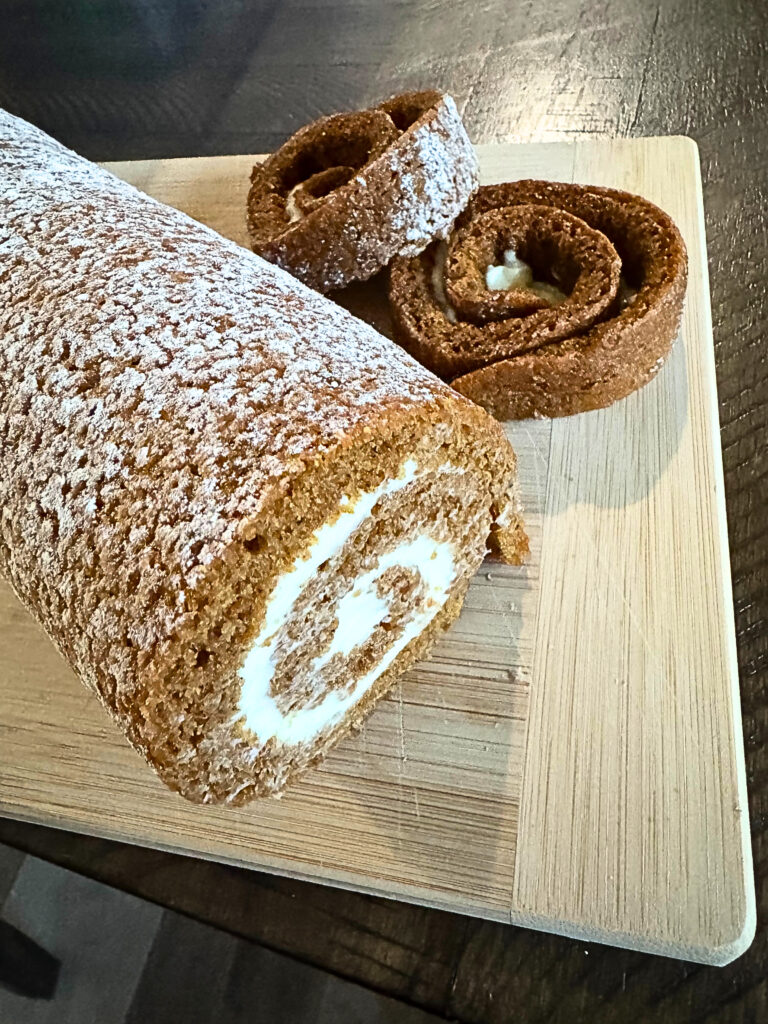
Pumpkin Roll with Cream Cheese icing
THANK YOU!
Thank you so much for trying this recipe, I hope you love this Chocolate cake as much as my family does. If you make this recipe, please share and tag me on Instagram or Facebook! And, please leave a comment or star rating below. I love to see everyone be successful in the journey to a healthier lifestyle with fresh milled flour! Don’t hesitate to contact me with any question, chances are we will both learn something from us working through it together!
Happy Baking!
Bailey Basics is a participant in the Amazon Services LLC Associates Program, an affiliate advertising program designed to provide a means for sites to earn advertising fees by advertising and linking to amazon.com. I may earn a commission, with no additional cost to you, if you purchase through those links.
The Best Chocolate Cake Recipe
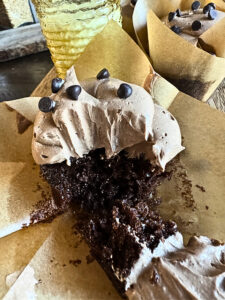
This chocolate cake is rich and full of bold chocolate flavor. It is perfect for a birthday cake, cupcakes or filled with mousse and fruit.
Recipe Ingredients: