

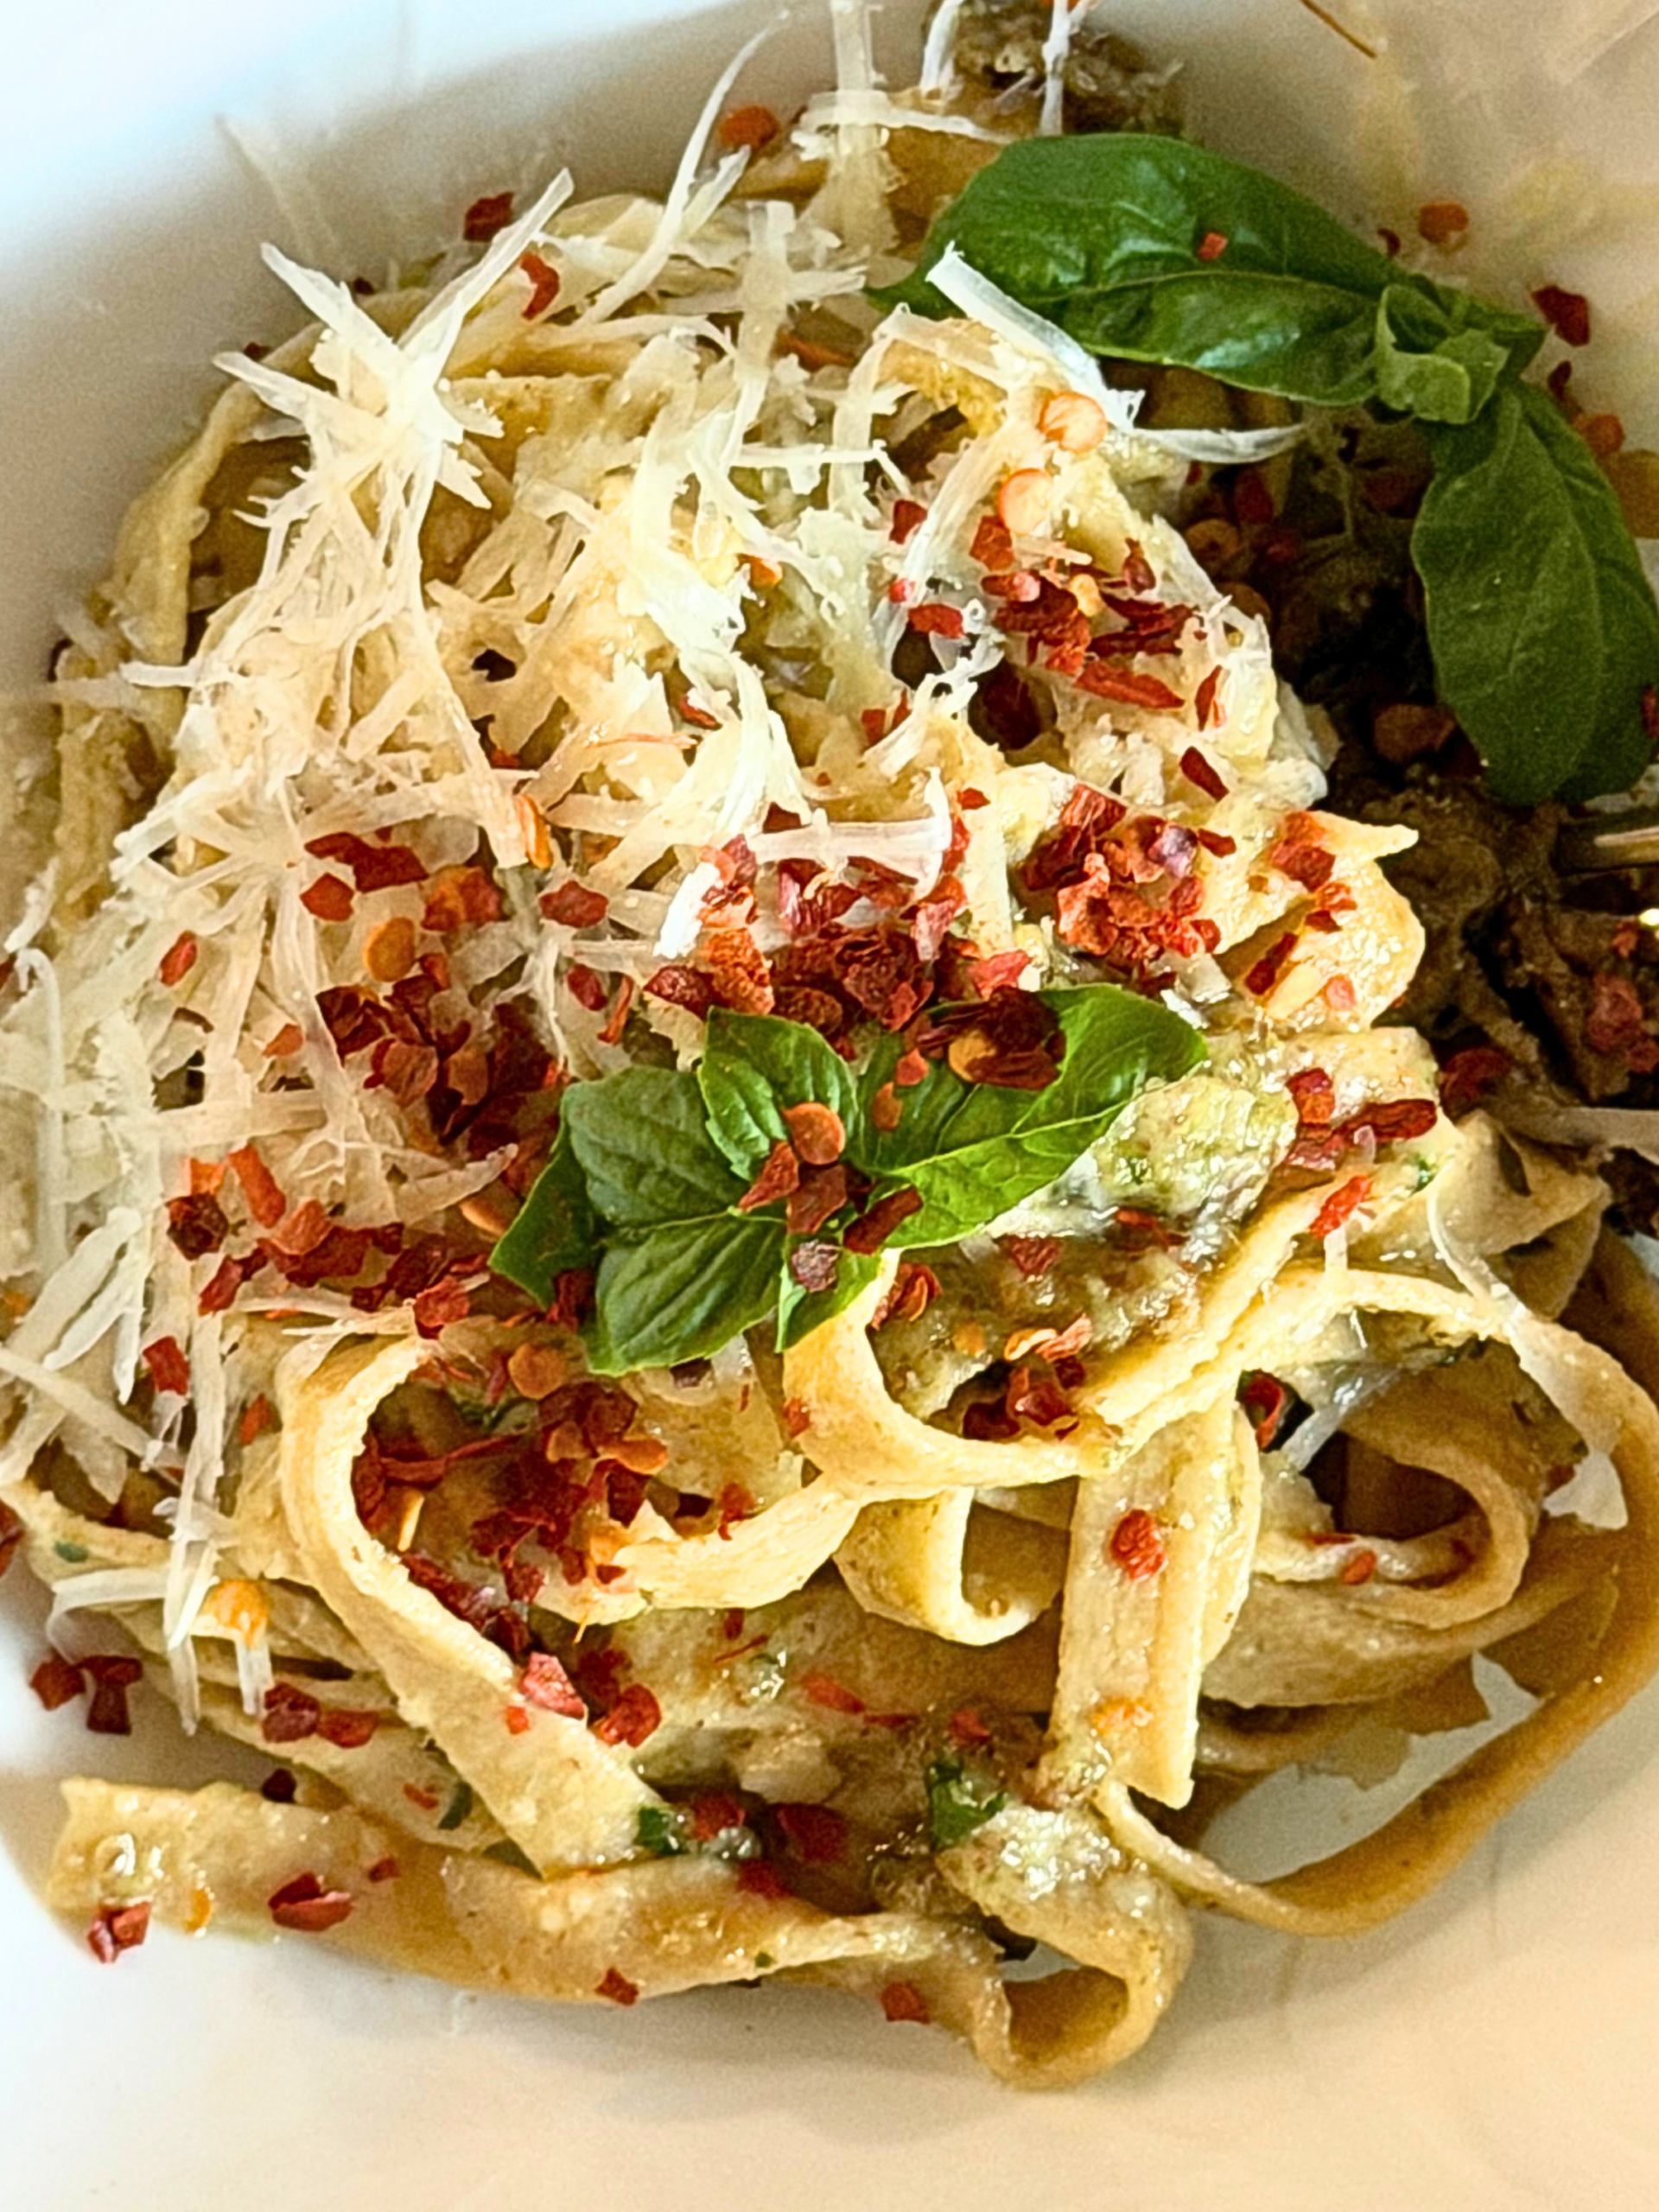
For some reason, it took me 3 years to attempt Pasta made with Fresh Milled Flour. My kids are pasta lovers and I think my hesitation was that I would put in the work and they wouldn’t eat it. Turns out, they love it! Now I am kicking myself for not doing it sooner.
I do not own an extruder so all of my pasta I make is rolled. Lasagna noodles, fettuccine, bow-tie, raviolli and working on others! It has quickly become one of my favorite things!

If you’re new to fresh milled flour, here are a couple of posts to get you started!


This post may contain affiliate links, please see our privacy policy for details.
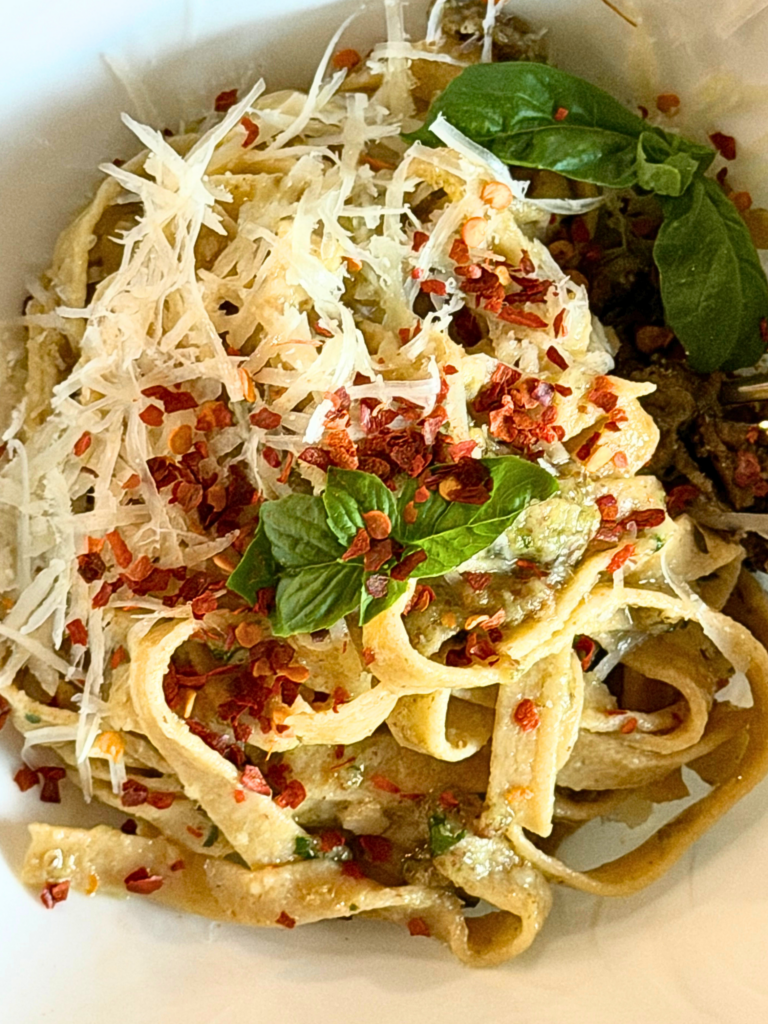
Table of Contents
I hope you aren’t like me and are attempting this early in your Fresh Milled Flour journey. It is a staple in my freezer at this point and I make multiple pans of lasagna to pull and bake on a busy weeknight.
Why the grain matters:
Many of my recipes I will make suggestions for substitions of grains. For this one. I think Khorasan (Kamut) or Durum wheat is the only way to go. Khorasan is a close relative to Durum and both produce an AMAZING pasta. While other grains can be used, the structural stability of the pasta, great flavor and overall performance cannot be matched by other grains.
This pasta actually has so much flavor, we love it drizzled with oil and topped with salt, cheese and herbs. That’s it!
Ingredients for Pasta made with Fresh Milled Flour
The ingredients are few and simple
- Khorasan (Kamut) or Durum Wheat
- Eggs
- Olive Oil
Equipment needed for Pasta Made with Fresh Milled Flour
- Grain Mill: If you are just starting out, HERE is a post to help you select a mill.
- Digital Scale
- Stand Mixer
- Measuring spoons
- Pasta Sheeter and cutter attachments (pictured below)
- Rolling pin and Pizza cutter if you do not have a sheeter
- Silicone Mat
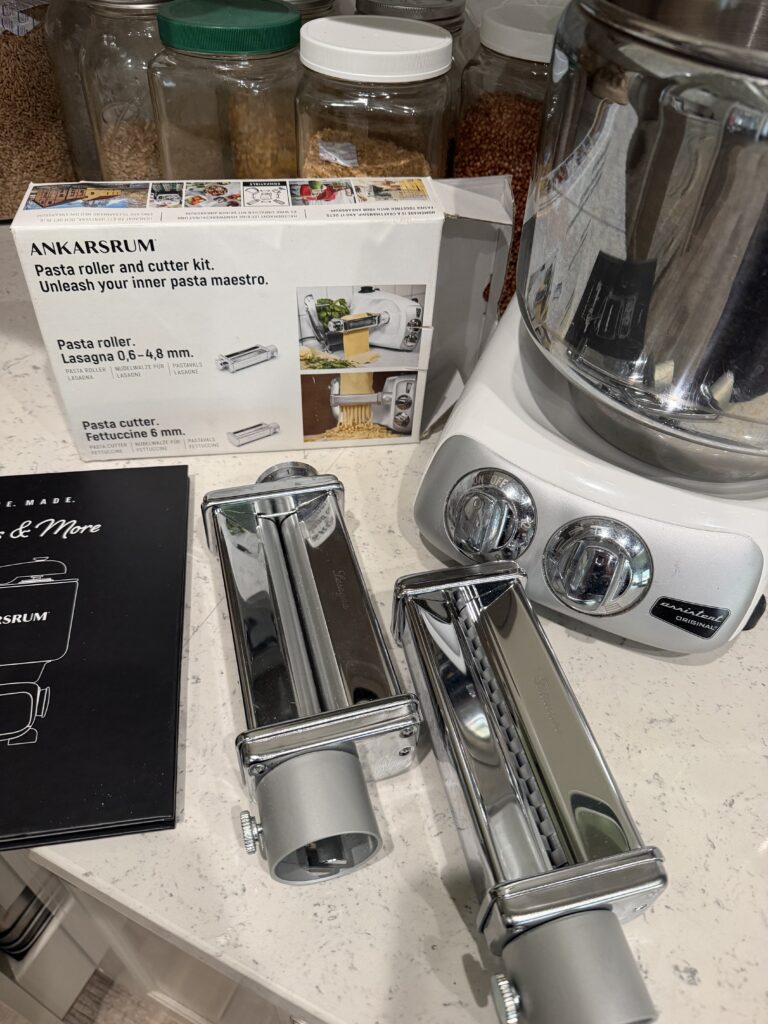
Let’s Make some Pasta with Fresh Milled Flour
- First, Mill your grains into a semi fine flour. I always mill about 100g extra for dusting my counter and pasta after rolling.
- Add your flour to the stand mixer fitted with the roller attachment (Ankarsrum) or paddle/dough hook (KitchenAid)
- If you are hand kneading, add your flour to a clean surface and make a well in the center.
- To your flour, add your eggs and oil. I use Olive oil or avocado oil.
- You want to knead dough until it has a glossy sheen to it. In my Ankarsrum mixer, it takes about 8 minutes. I also lock my roller arm about an inch from the side of the bowl as it helps it knead better!
- Once the dough has kneaded, you want to wrap with plastic wrap and place in the fridge for about 30 minutes. This is a crucial step or your dough will not roll out. It will shrink back up everytime you attempt to roll. (Trust me, I tried to rush it once)
- After the resting period, I divide my dough into about 8-10 smaller pieces and begin rolling them out slightly to run through my pasta sheeter.
- Depending on what type of pasta you are making, you will roll and shape differently.
- In my Ankarsrum sheeter, I run it though once on a “2” first and then run through again on a “4”. Then I run it through the Fettuccine cutter or leave as sheets for lasagna.
Boiling your Pasta
If you plan to cook your pasta right away, get a pot of salted water to a rolling boil. I will drop my pasta in and cook 2-3 minutes until al dente.
If I am boiling a lot of pasta, I do small batches at a time. Remove from the water when cooked and then drizzle with olive oil as I continue to cook the rest. Then I toss in my warm sauce when I’m ready to serve.
Already cooked pasta actually reheats pretty well. I just toss in additional sauce, oil or butter to reaheat on the stove top.
Storing your Pasta
If you are wanting to make large batches of pasta and store, there are a couple of different options
Drying Pasta
When drying pasta, you want to be sure they are coated well with flour and able to hang until COMPLETELY dry. I actually prefer the freezing method over this, but you can certainly dry yours. I do not have the long-term counter space to do this.
Freezing Pasta
This is by far my favorite way to store large batches of pasta. I create “nests” of fettucini or spaghetti noodles on a sheet pan. Flash freeze them by placing the pan directly into the freezer for 2-3 hours. Once the pasta is frozen, I take the nests of pasta and add them to a freezer bag or freezer safe dish.
Pull the pasta and drop directly into the boiling water and cook 2-3 minutes.
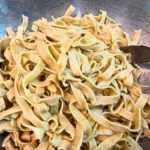
Pasta made with Fresh Milled Flour
Equipment
- Pasta Sheeter and Cutter if you have
- Pasta cutter pizza cutter or sharp knife will work
- Large Stock pot
- Tongs or Slotted Spoon
Ingredients
- 500 g Khorasan (Kamut) or Durum Wheat Extra for dusting 100g
- 7 Eggs
- 3 1/2 Tbsp Oil
Boiling Pasta
- Water, Salt and Olive Oil for Drizzing
Instructions
- If you are hand kneading, add your flour to a clean surface and make a well in the center.
- To your flour, add your eggs and oil. I use Olive oil or avocado oil.
- Once the dough has kneaded, you want to wrap with plastic wrap and place in the fridge for about 30 minutes. This is a crucial step or your dough will not roll out. It will shrink back up everytime you attempt to roll. (Trust me, I tried to rush it once)
- After the resting period, I divide my dough into about 8-10 smaller pieces and begin rolling them out slightly to run through my pasta sheeter.
- Depending on what type of pasta you are making, you will roll and shape differently.
- In my Ankarsrum sheeter, I run it though once on a "2" first and then run through again on a "4".
Boiling Pasta
- If you plan to cook your pasta right away, get a pot of salted water to a rolling boil. I will drop my pasta in and cook 2-3 minutes until al dente.If I am boiling a lot of pasta, I do small batches at a time. Remove from the water when cooked and then drizzle with olive oil as I continue to cook the rest. Then I toss in my warm sauce when I'm ready to serve.Already cooked pasta actually reheats pretty well. I just toss in additional sauce, oil or butter to reaheat on the stove top.
Storing Pasta
- If you are wanting to make large batches of pasta and store, there are a couple of different options
Drying Pasta
When drying pasta, you want to be sure they are coated well with flour and able to hang until COMPLETELY dry. I actually prefer the freezing method over this, but you can certainly dry yours. I do not have the long-term counter space to do this.Freezing Pasta
This is by far my favorite way to store large batches of pasta. I create "nests" of fettucini or spaghetti noodles on a sheet pan. Flash freeze them by placing the pan directly into the freezer for 2-3 hours. Once the pasta is frozen, I take the nests of pasta and add them to a freezer bag or freezer safe dish.Pull the pasta and drop directly into the boiling water and cook 2-3 minutes.
Notes
Nutrition
Frequently asked questions about Pasta made with Fresh Milled Flour
What grains should I use to make the pasta
Often times I will share other grain substitutions in my recipes. For this recipe however, I strongly recommend only using Durum or Khorasan (Kamut) wheat.
How and when do I add the sauces?
Just like making store-bought pasta, I boil my pasta and add to sauces and other toppings. The main differences, are that it is crucial to add oil to the cooked pasta so it doesn’t stick together. Fresh pasta also takes less time to cook than dried, store-bought pasta. You can use any sauces you’d like, just like other pastas. I love to make lasagna with a marinara or cream sauce. There is so much flavor in this pasta, it is actually really tasty with a little butter and salt or fresh herbs.
Do I need to boil longer if I dry or freeze my pasta?
If you dry the pasta, it does take a couple extra minutes. But it still only 4-5 minutes, not as long as store-bought pasta.
All my Summer Favorites!

Need Grains?
THANK YOU!
Thank you so much for trying this recipe, I hope you love Pasta made with Fresh Milled Flour as much as my family does. If you make this recipe, please share and tag me onInstagram orFacebook! And, please leave a comment or star rating below. I love to see everyone be successful in the journey to a healthier lifestyle with fresh milled flour! Don’t hesitate to contact me with any question, chances are we will both learn something from us working through it together!
Happy Baking!
Bailey Basics is a participant in the Amazon Services LLC Associates Program, an affiliate advertising program designed to provide a means for sites to earn advertising fees by advertising and linking to amazon.com. I may earn a commission, with no additional cost to you, if you purchase through those links.
Bailey Basics is not a dietician or nutritionist, and any nutritional information shared is an estimate. If calorie count and other nutritional values are important to you, we recommend
Simply Delicious Lemon Bars made with fresh milled flour

These classic lemon bars are perfect for a tea party or spring brunch. Made with lemon zest and fresh sqeezed lemon juice, they are always a hit.
Recipe Video Name: Lemon Bars Made with Fresh Milled Flour
Recipe Video Description: The best lemon bars! They are the perfect balance of tart and sweet.
Recipe Video Thumbnail: https://www.youtube.com/embed/R5aNm3GqbvU
Recipe Ingredients: